Grow Your Own Sprouting Jar and Strainer Lid
- Overview
- Growing instructions
- Seed standards
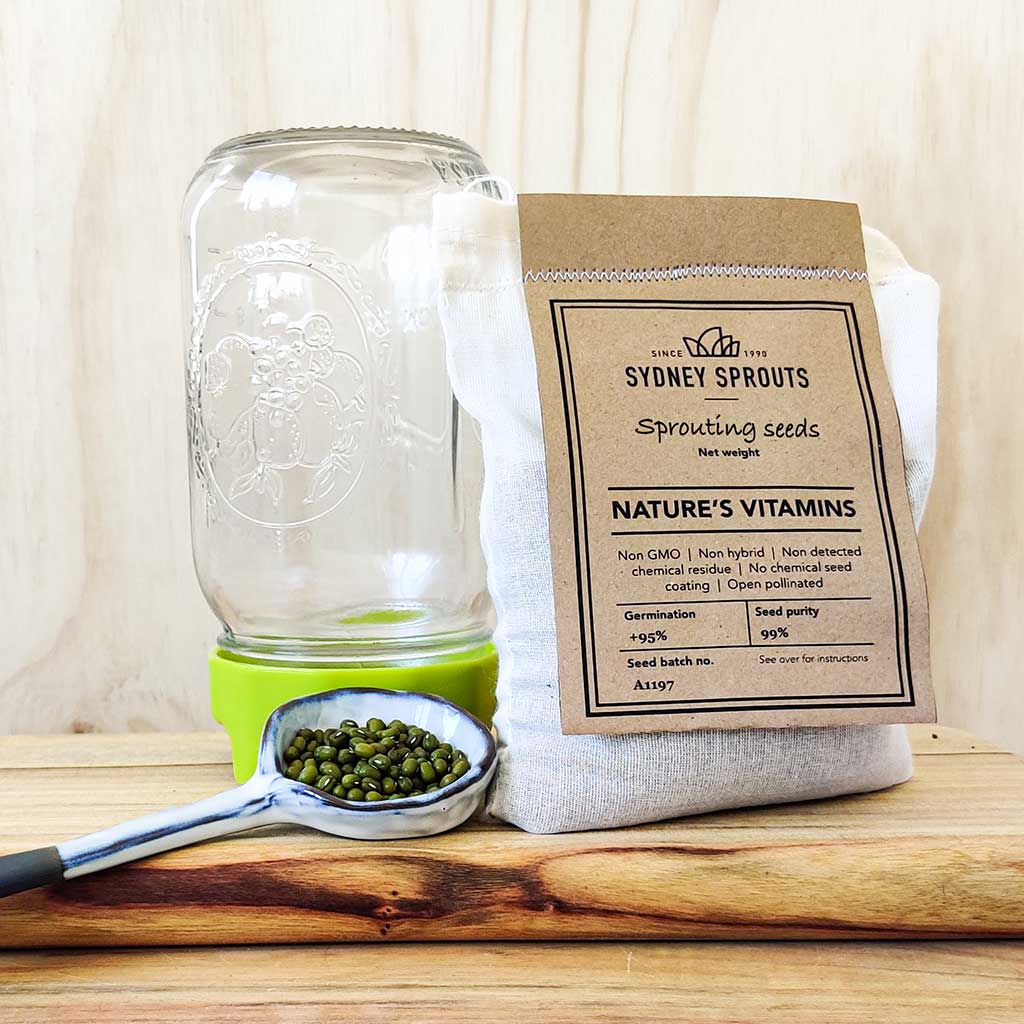
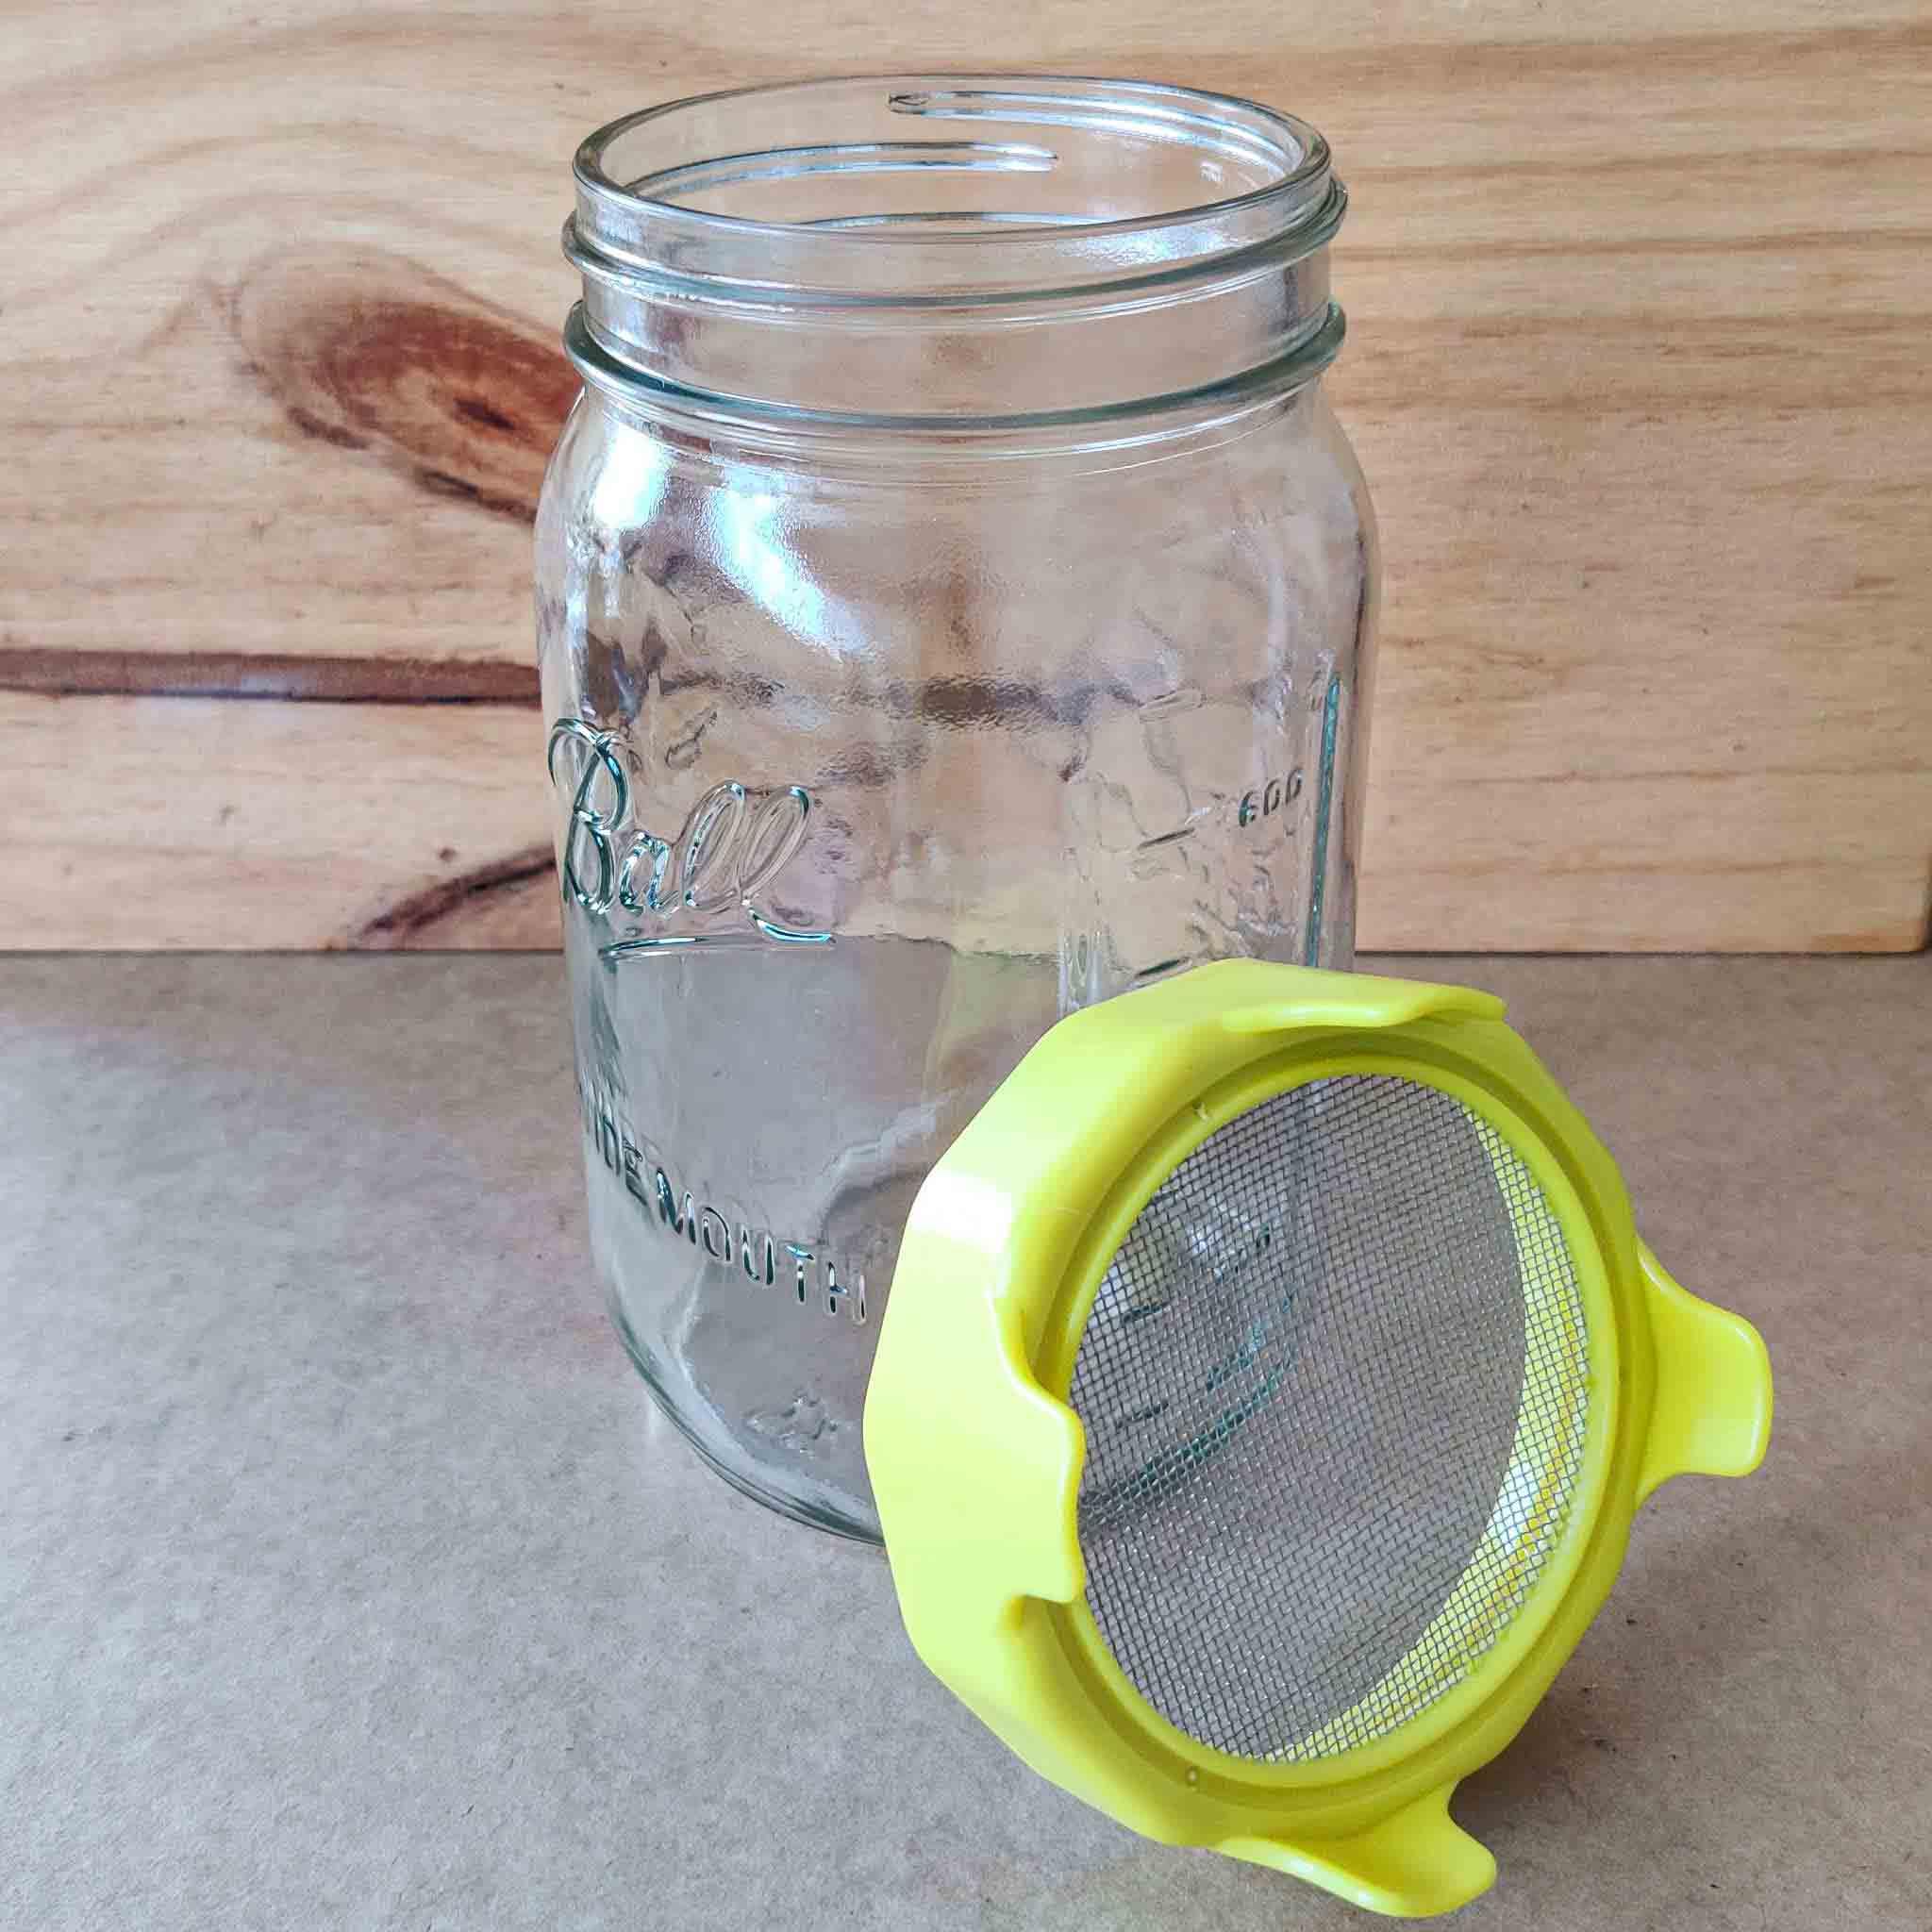
Set includes:
-
Glass sprouting jar with strainer lid (950ml)
-
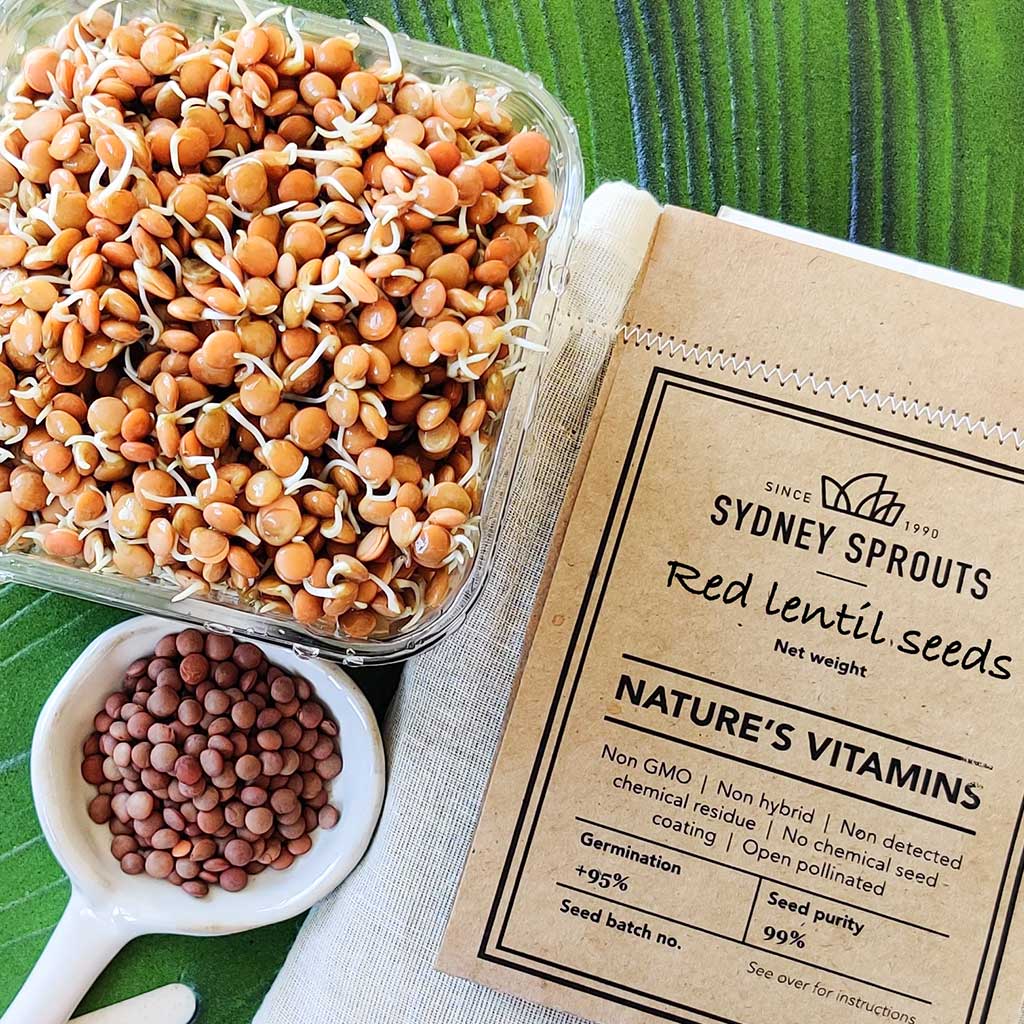
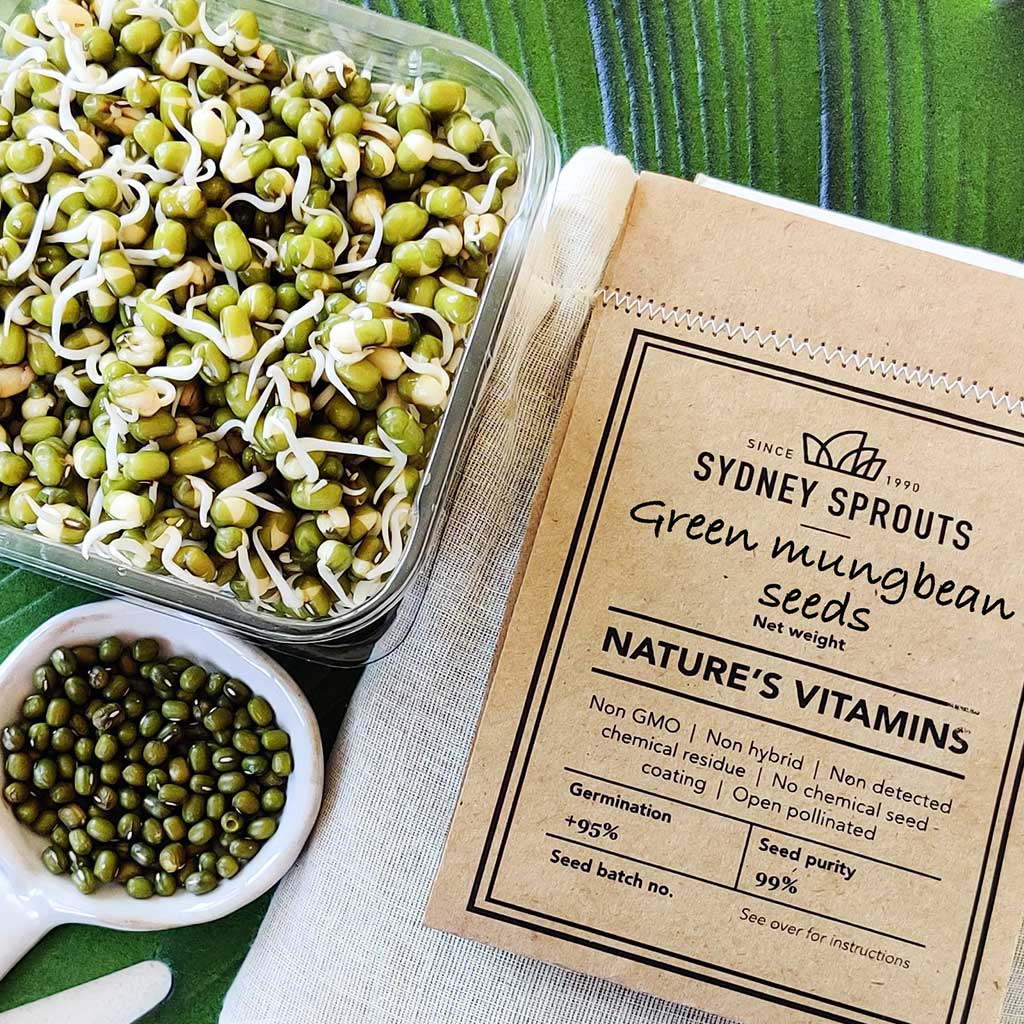
250g bag of sprouting seeds of your choice
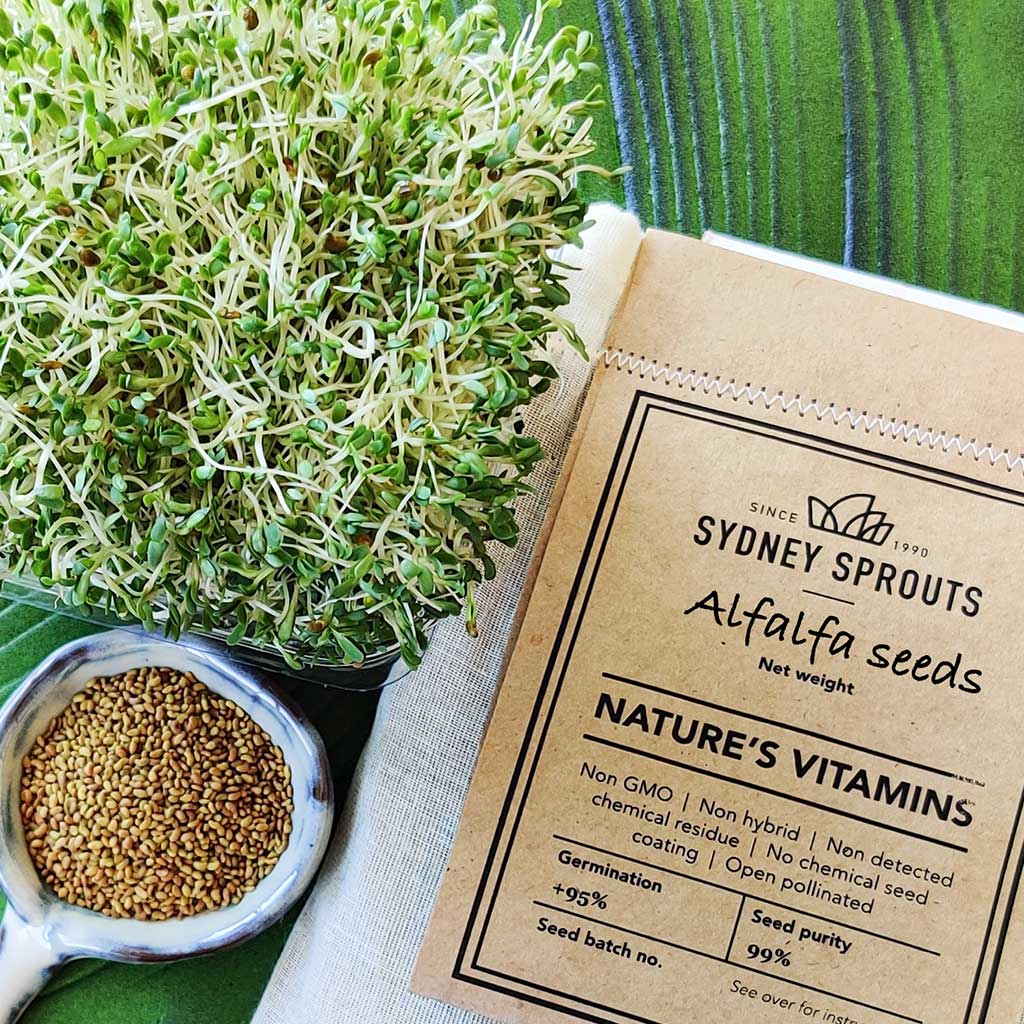
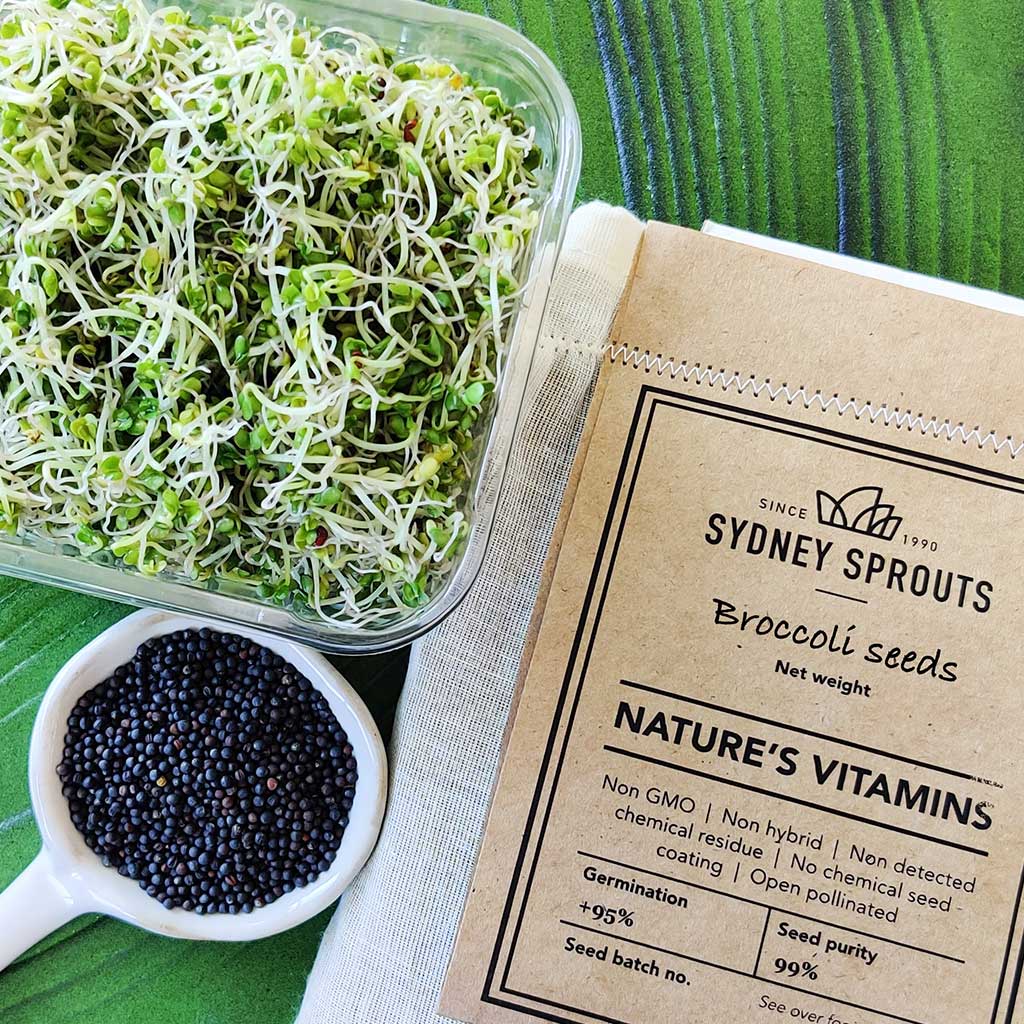
A fabulous way to start your sprouting journey! This complete DIY sprouting set includes a glass sprouting jar, strainer lid and a bonus 250g bag of your choice of green or black mung bean seeds, or lentils seeds. You also have the option upgrade to our premium alfalfa seeds (+$4) or broccoli seeds (+$17).
Our sprouting seed bags are made from a sustainable, natural woven blend of cotton and muslin. For longer seed shelf life, please store your seeds in an airtight container.
Seed prep
- Add 4-6 tbsp of sprouting seeds to your jar (2 tbsp for broccoli seeds) and cover with 400ml of water. Swirl around to agitate and clean the seeds, then tip out the water.
- Add a new 400ml of water and allow the seeds to soak for 4-6 hours.
- After soaking, drain water by tipping the jar upside down using the strainer lid in your sprouting kit.
- Sit the jar in a resting position, away from direct sunlight.
Growing & watering
- Water your sprouts a minimum of 2 times a day. 3-4 times per day is ideal.
- Add 400ml of water, swirl around to rinse sprouts, then drain.
- Repeat Step 2 for a second rinse with fresh water for a few minutes (extra water may be required on especially hot or humid days).
- Drain and place jar back in a resting position, away from direct sunlight.
- Repeat the rinsing and draining process 2-4 times daily until your sprouts are ready for harvest.
The magic of photosynthesis
To give your sprouts a wonderful green colour, the final stage before harvesting involves sunlight and the transformational process of photosynthesis. When your sprouts have grown to the desired size, simply follow these steps:
- Place your sprouts in an upright position in an area with bright light.
- Keep out of direct sunlight, natural or fluorescent lighting is fine.
- Photosynthesis will start to happen within one hour and can take up 12 hours (longer time = darker green)
Rinsing and watering is still required during the photosynthesis stage, especially in warmer weather. - Once your sprouts have reached your preferred shade of green, they’re ready for harvesting and feasting!
- Wash and drain your sprouts, then place them in a clean container. Your sprouts can be kept fresh in the fridge for up to a week.
- Non-GMO
- Non detected chemical residue *NATA laboratory tested
- Microbiologically tested. (Free of pathogens, e-coli, salmonella and listeria)
- No chemical seed coating
- Open pollinated
- Non-hybrid
- Germination +95%
- Seed Purity +98%
Our seed satisfaction promise
If you carefully watched our How to Sprout Seeds video and followed our growing instructions but your seeds did not sprout, you can return them for a full refund. This does not apply if you skipped a step – reread the instructions!
Please note: Seeds are not available for delivery to WA or TAS due to quarantine restrictions. Ceramic spoon is for decoration only and is not included.