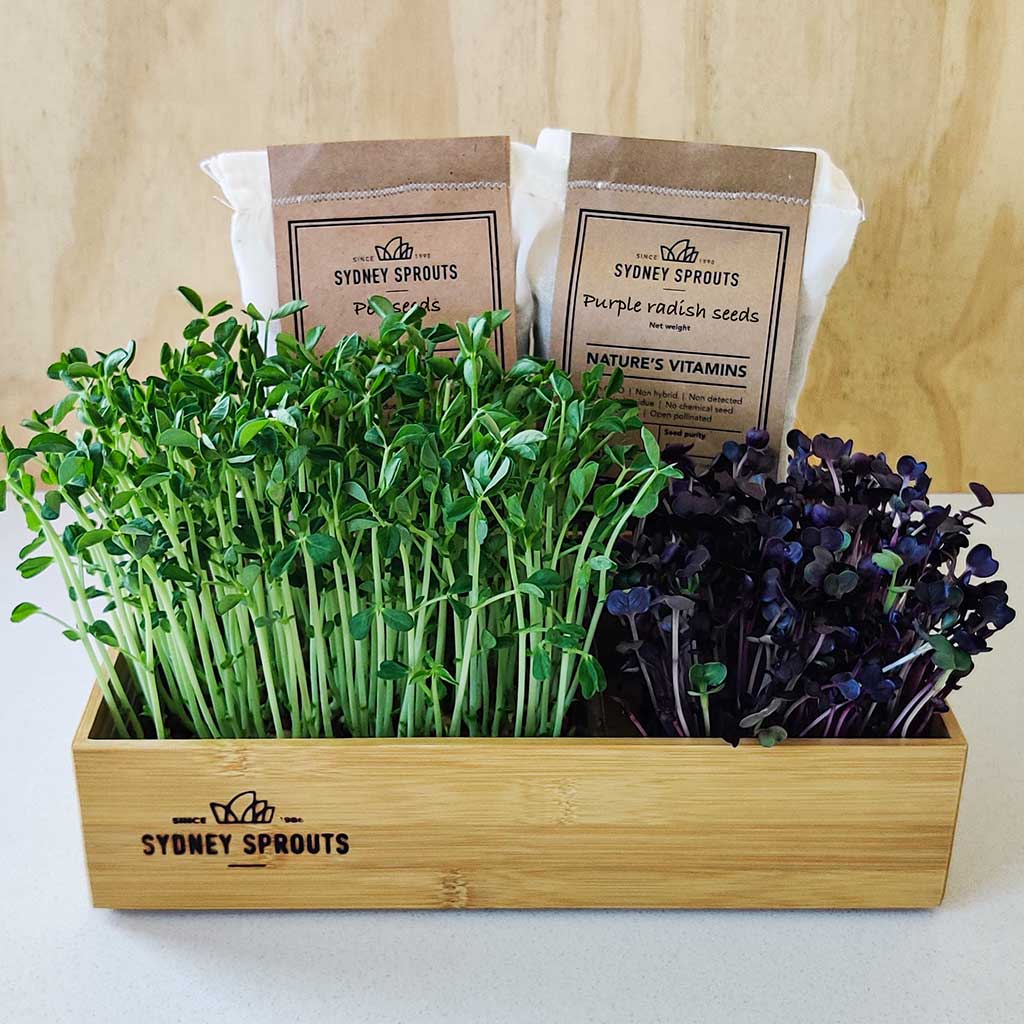
Bamboo Microgreens Tray with 2 Seed Packs
- Overview
- Growing instructions
- Seed standards
Microgreens are delicious, nutritious and super easy to grow. Whether it’s for your own home, or a gift for a friend or family member, we just know you’ll love our new Sydney Sprouts microgreens growing trays. They include everything you’ll need to get started. This kit contains:
-
Elegant bamboo growing tray 23cm(l) x 15cm(w) x 7cm(h)
-
Growing tray insert x 2
-
Drip tray x 1
-
Hemp growing mat x 2
-
250g pea seeds
-
200g purple radish seeds
-
Instructions card
Material and dimensions
-
Tray made from bamboo timber (recyclable material)
-
23cm(l) x 15cm(w) x 7cm(h)
-
Hemp mat made from fibrous by-product of industrial hemp - the fibres are woven together to create a light growing mat/medium for the roots to grow easily through
Care instructions
Hand wash only. Wipe dry immediately. Do not soak in water. Avoid using abrasive cleaners or scourgers.
How fast do microgreens grow?
Microgreens grow a little slower than sprouts. But just like sprouts, different varieties can be harvested sooner than others. Microgreens from the ‘broccoli’ family typically take 8-10 days to reach maturity, while ‘pea’ varieties will take between 10-14 days.
What you’ll need to grow microgreens at home
- Store-purchased potting soil.
- Repurposed containers or microgreens.
- Sprouting jar (optional).
Preparation
- Find three small containers of the same size and shape. Shallow rectangular take-away containers are ideal if you have them.
- The aim is to convert these containers into: (1) a growing pot; (2) a saucer to catch excess water; and (3) a growing pot cover.
- Take one container and punch a few holes in the bottom for drainage. This is your microgreens growing pot.
- Using your empty growing pot as a guide, measure your microgreens seeds by adding a thin layer of seeds to the pot without overlapping.
- Now remove 20% of the seeds to determine the optimal number of microgreens seeds for your container (seeds swell during the soaking stage so this ensures there will be enough room for them to grow.)
Jar sprouting (optional)
- Whilst not essential, many people like to use a sprouting jar to start the germination process before sowing their microgreens seeds into the soil.
- Place your measured seeds into a sprouting jar and soak in water for 24-36 hours.
- Continue sprouting the seeds until the white dots of the tails appear.
- Using the seed jar sprouting method can save 2-3 days of growing time.
- Pre-soaking can also help your microgreens grow more evenly and produce a higher yield.
Growing
- Start prepping your microgreens growing pot using store-purchased potting soil (as an option, you can add ¼ to ½ parts of coconut peat to your soil).
- Fill your growing pot with soil to within 2cm of the upper rim.
- Add water to saturate the soil, keeping it moist for sowing.
- When your seeds are ready, drain well and scatter the seeds evenly over the soil.
- Spray a light mist of water over the seeds to help them embed into the soil.
- Cover the newly planted seeds with the 3rd container by turning it upside down, creating a ‘mini-greenhouse’ effect (alternatively, use a paper towel to cover the seeds and give a good misting of water straight through the paper towel).
- Keep the soil moist with regular misting of water throughout the full growing process.
- Between Days 3-5 short white tails will have appeared on your microgreens seeds.
- You may also notice a white ‘fluffy mould’ on the seeds – this is normal as the seeds are developing fine root hairs which eventually will become the root system. This is also a sign that extra watering is needed.
- Between Days 6-9 your microgreens seedlings will be standing upright and look like mini trees.
- At this stage remove the pot cover/paper towel and let them continue to grow in a well-lit area so they can start to photosynthesise and develop their first set of true leaves.
Harvesting
- When your microgreens have reached the desired size, clip them about 1cm above the soil level using a knife or a pair of scissors.
- If your container doesn’t allow for a good cutting angle, you can gently lift the microgreens out of the container.
- After a quick rinse in water your microgreens are now ready to eat – any extras can be stored in a lidded container in the fridge.
- Do not reuse the soil after harvesting.
- Non-GMO
- Non detected chemical residue *NATA laboratory tested
- Microbiologically tested. (Free of pathogens, e-coli, salmonella and listeria)
- No chemical seed coating
- Open pollinated
- Non-hybrid
- Germination +95%
- Seed Purity +98%
Our seed satisfaction promise
If you carefully watched our How to Sprout Seeds video and followed our growing instructions but your seeds did not sprout, you can return them for a full refund. This does not apply if you skipped a step – reread the instructions!
Please note: Seeds are not available for delivery to WA or TAS due to quarantine restrictions. Ceramic spoon is for decoration only and is not included.