Collections
Broccoli Sprouts Powder
These tiny plants are bursting with vitamins, nutrients and contain sulforaphane, a powerhouse plant-based antioxidant that supports optimal wellbeing.
As the star subject of numerous scientific studies, sulforaphane is gaining attention for its role across a range of health issues from anti-inflammatory benefits to skin cell health.[1]
Our broccoli sprouts powder is made from 100% organically sprouted broccoli seeds, making it an easy way to increase your daily intake of sulforaphane along with other essential nutrients like vitamins C and K and folate which can support energy, bones, and immunity when consumed as part of a healthy, balanced diet.
View collection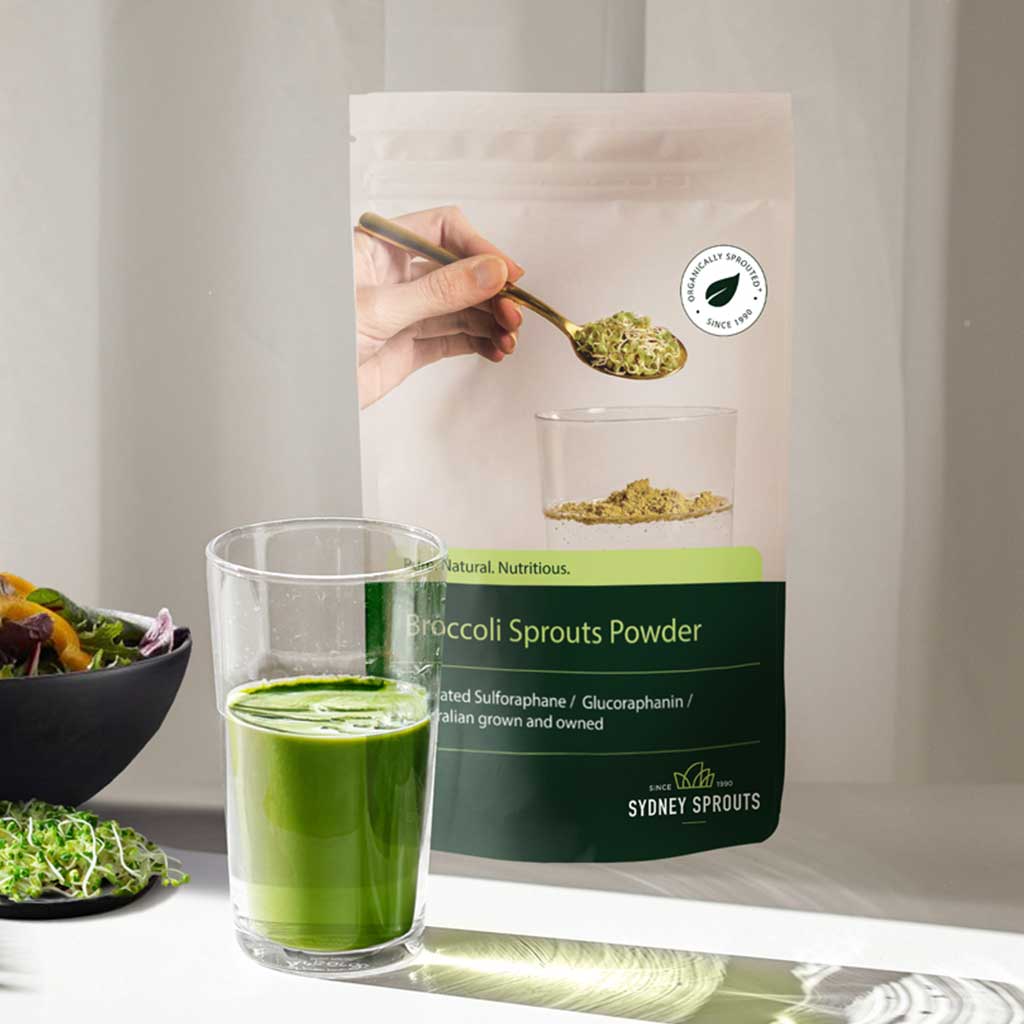

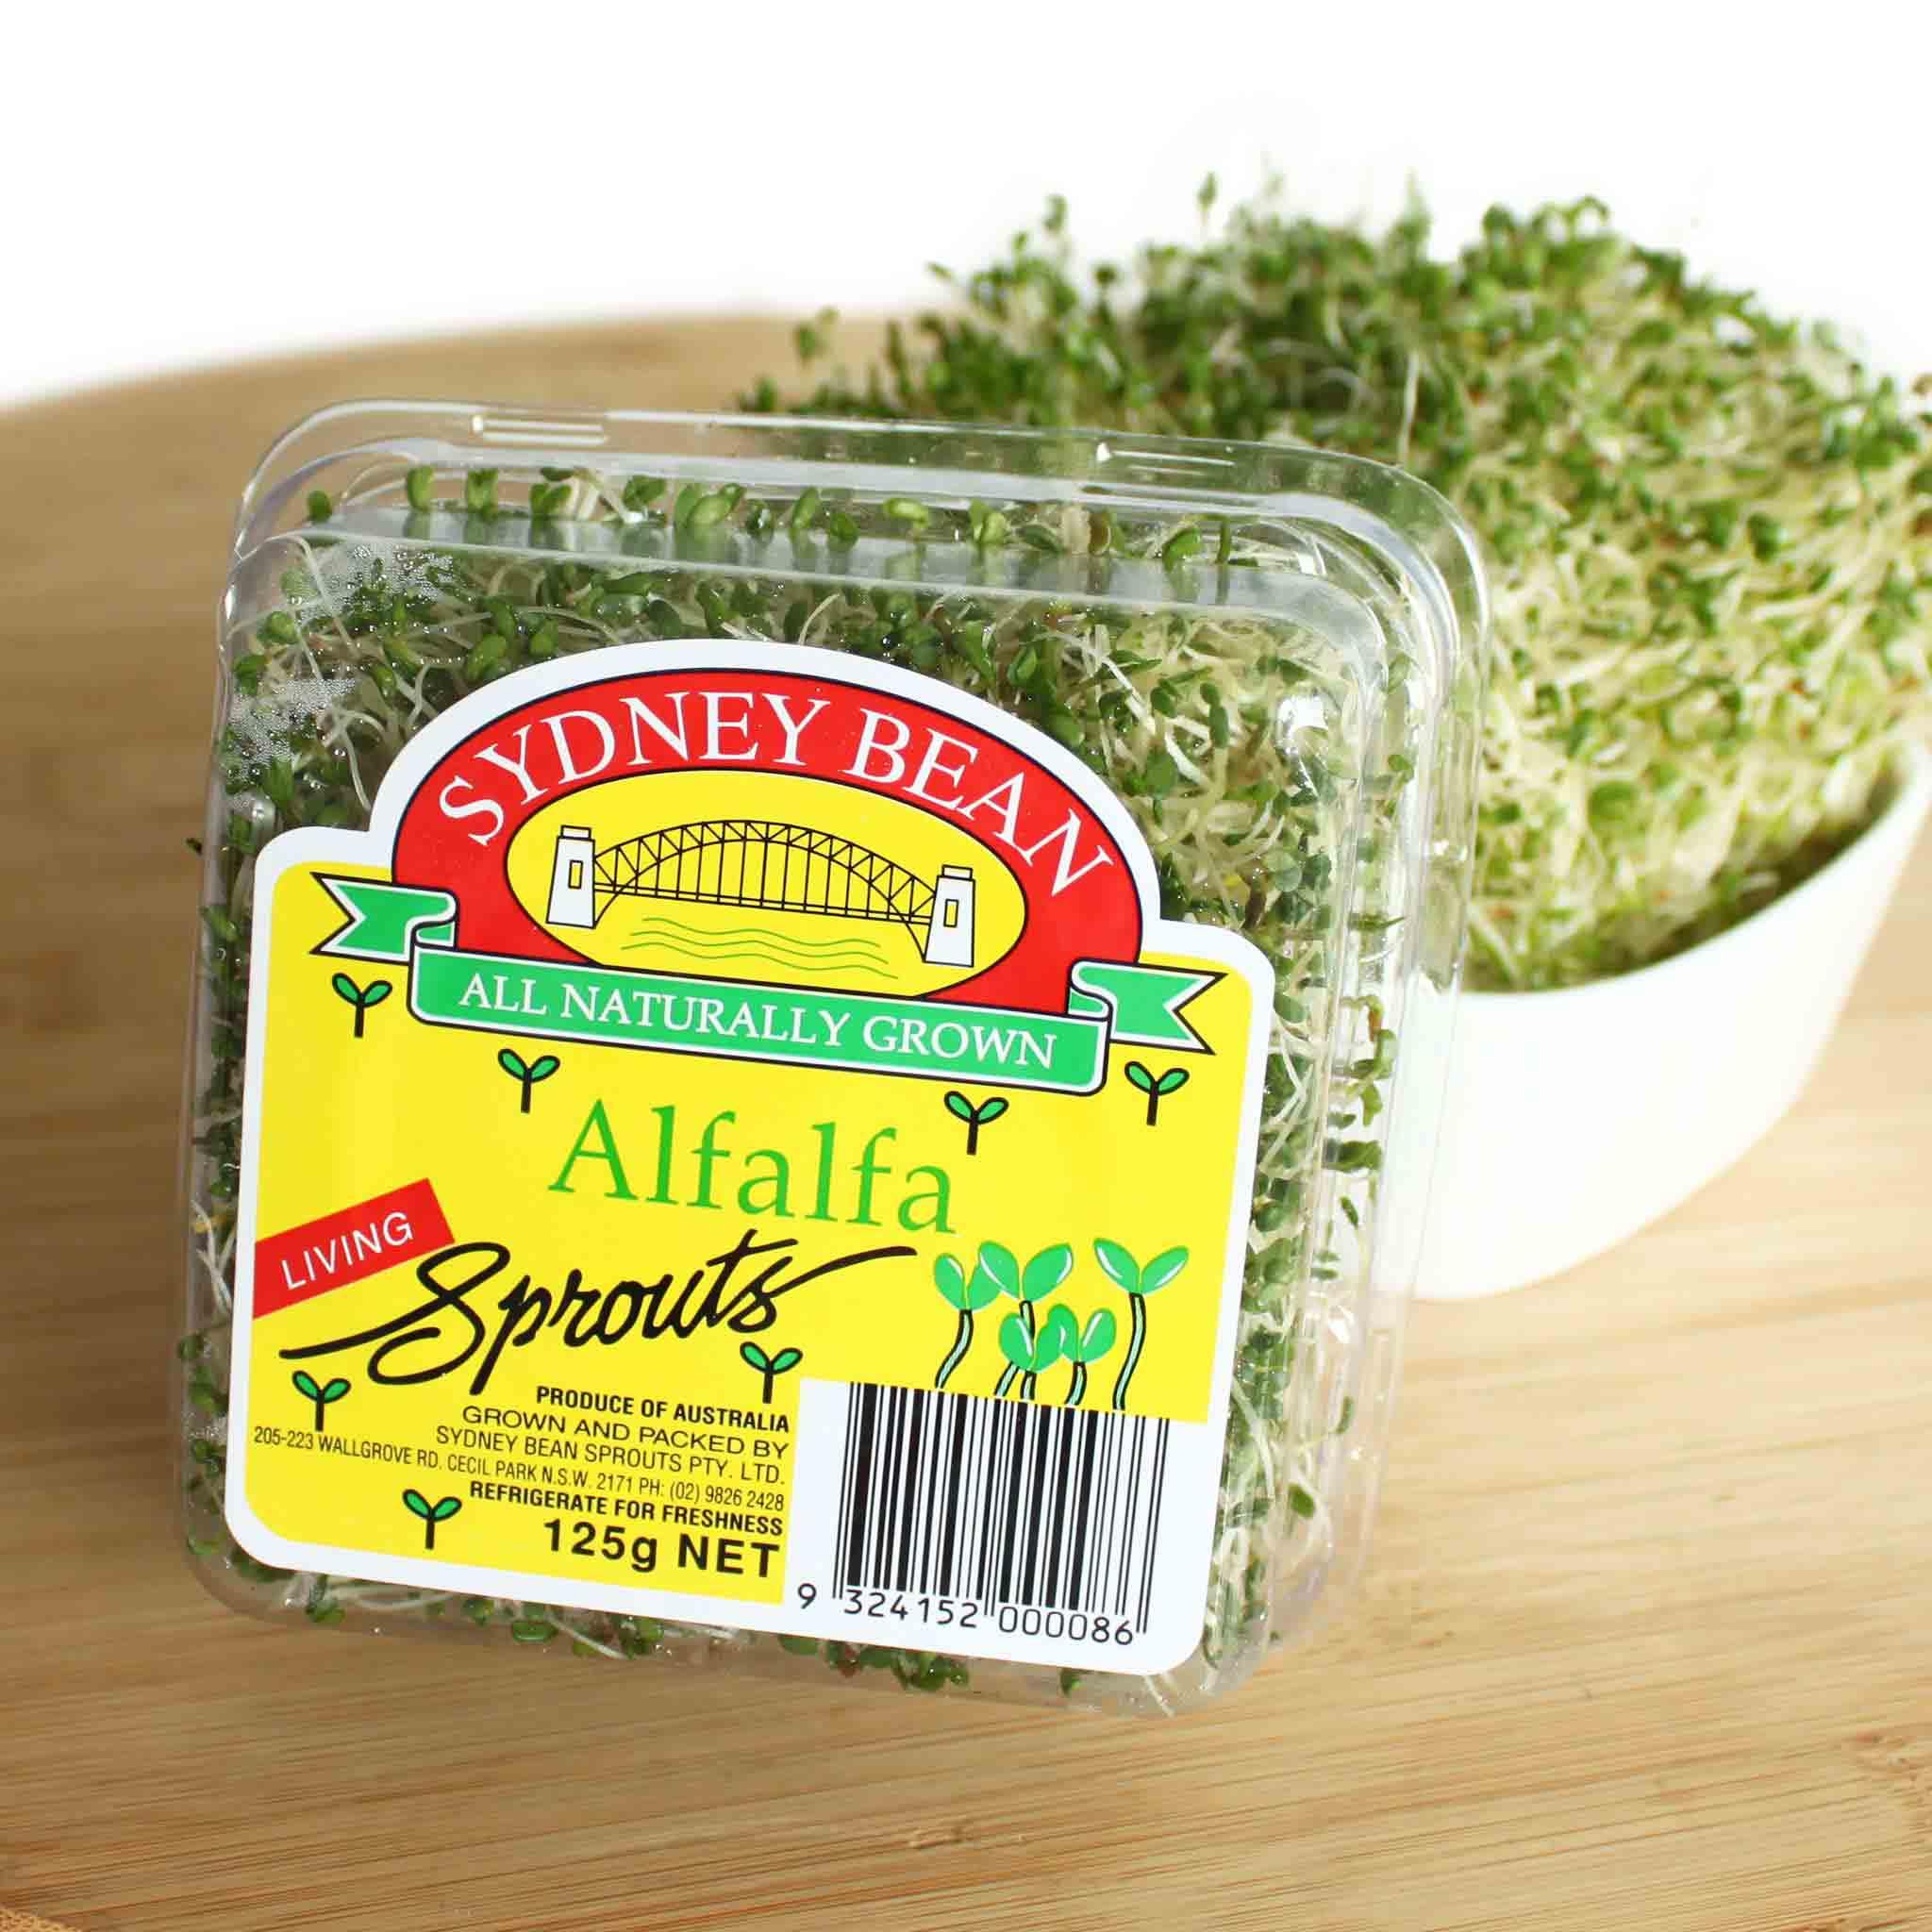
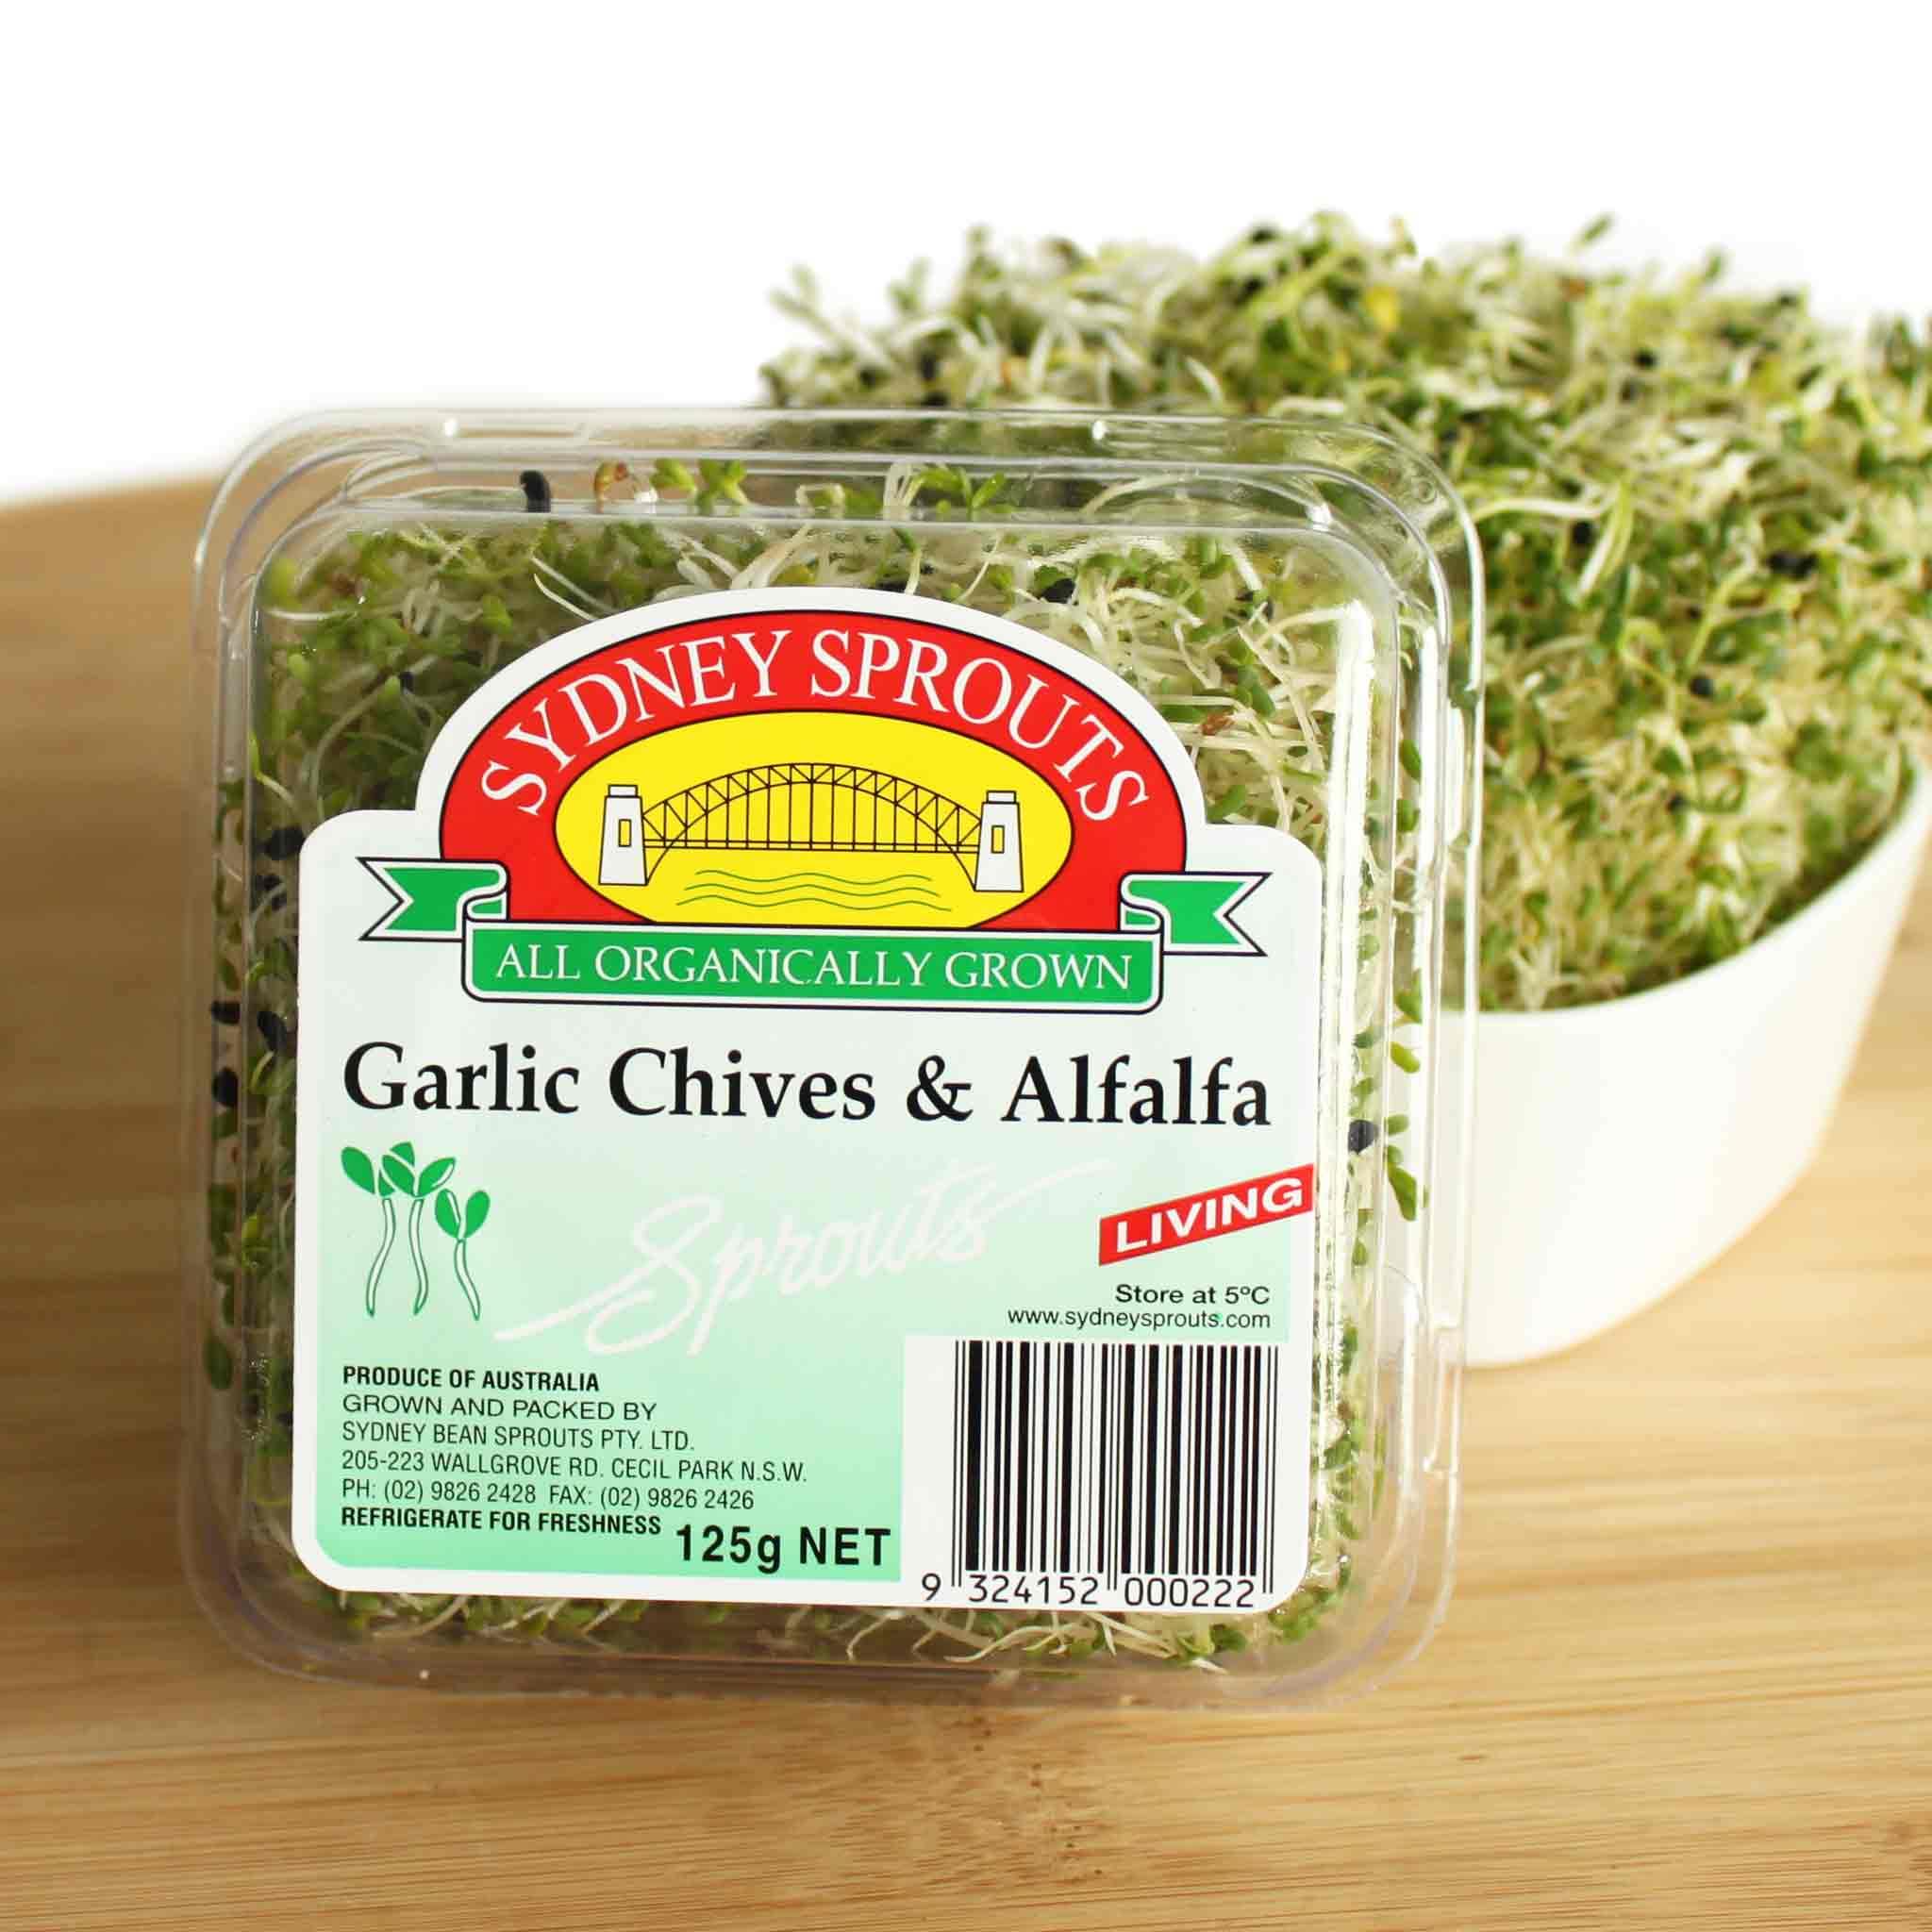
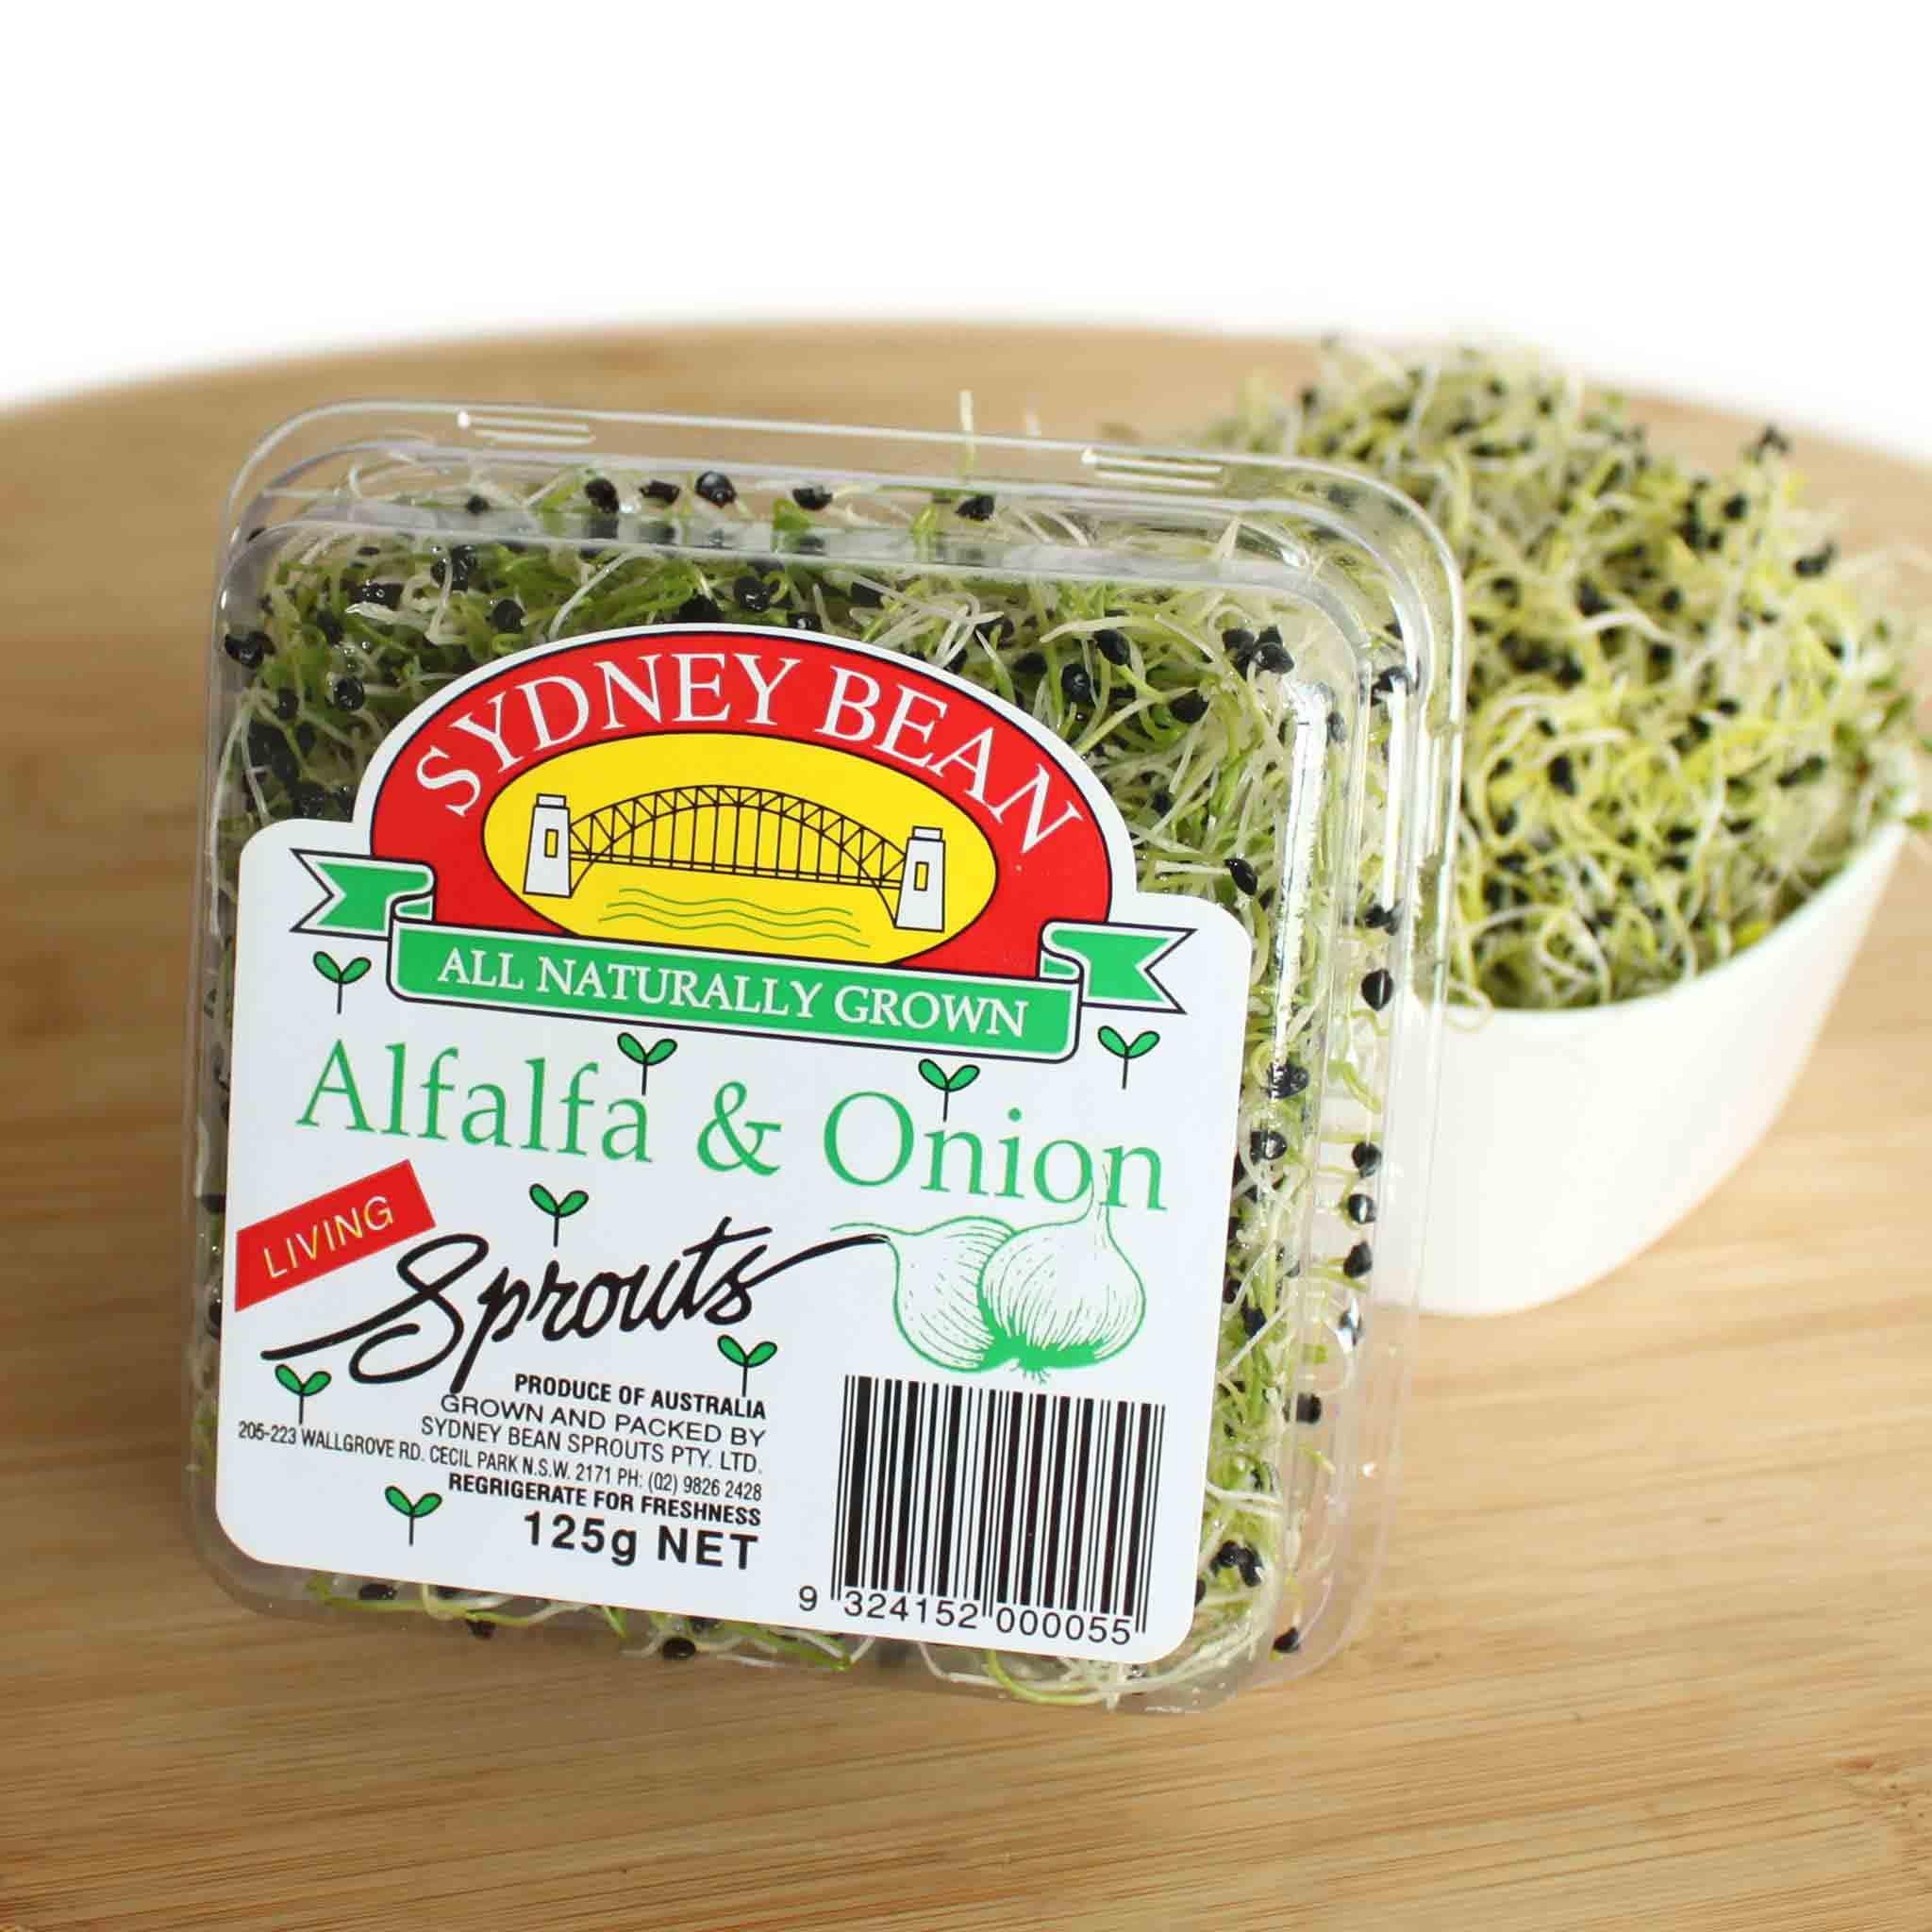
Fresh range
Growing our own fresh sprouts is how the Sydney Sprouts business first began all those years ago. It’s still a big part of what we do today from our family’s farm in western Sydney. We currently grow and supply 25 different varieties of delicious sprouts and sprouts mixes to independent grocers, deli’s and supermarkets across Australia.
Why not grow your own at home? We have a range of sprouting seeds for you to choose from...Fast and easy to grow yourself!
View collection

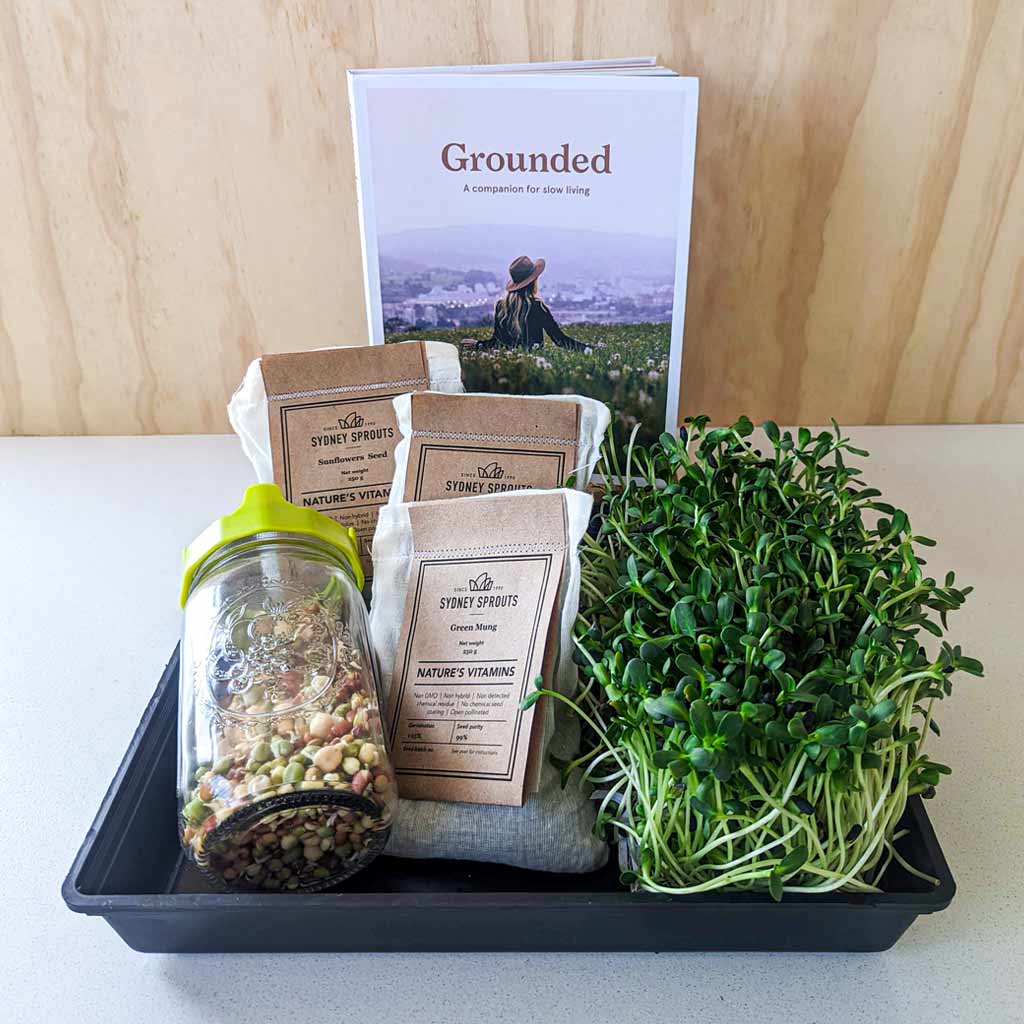
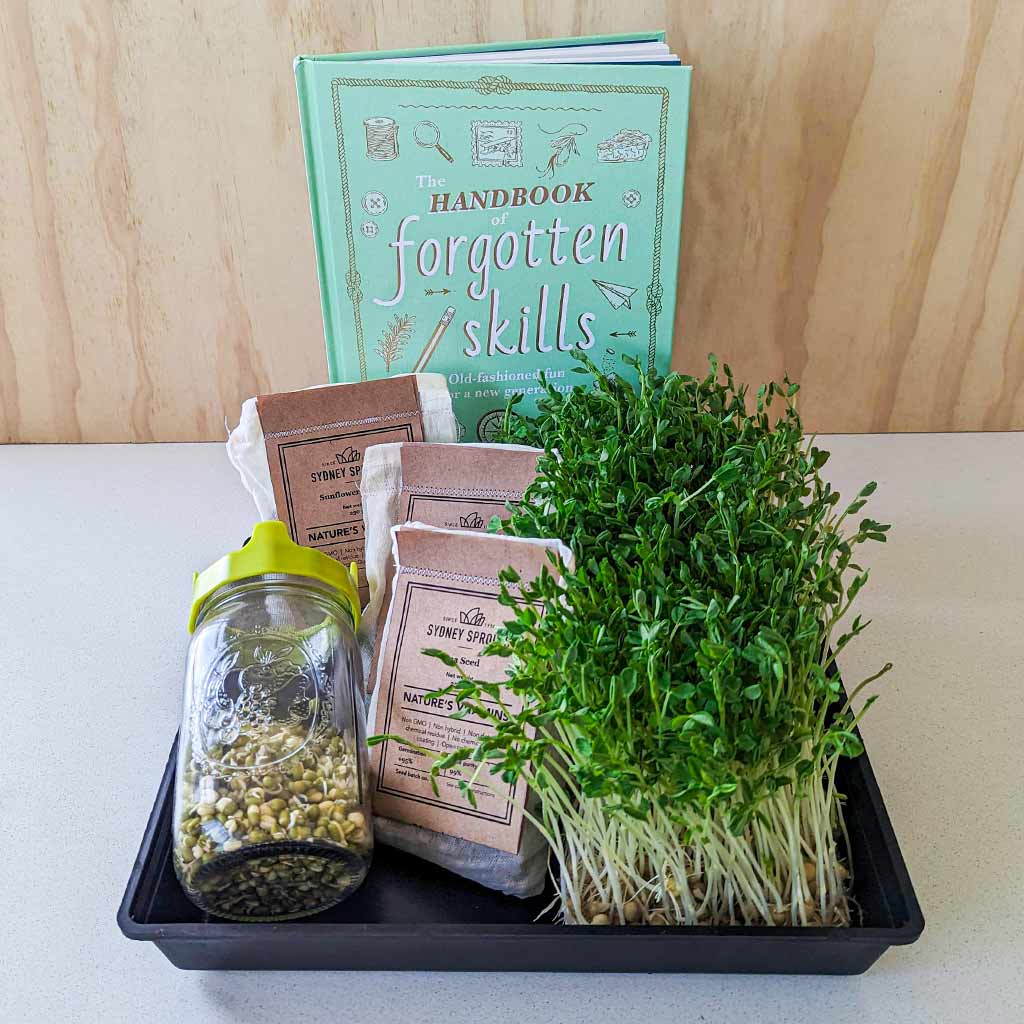
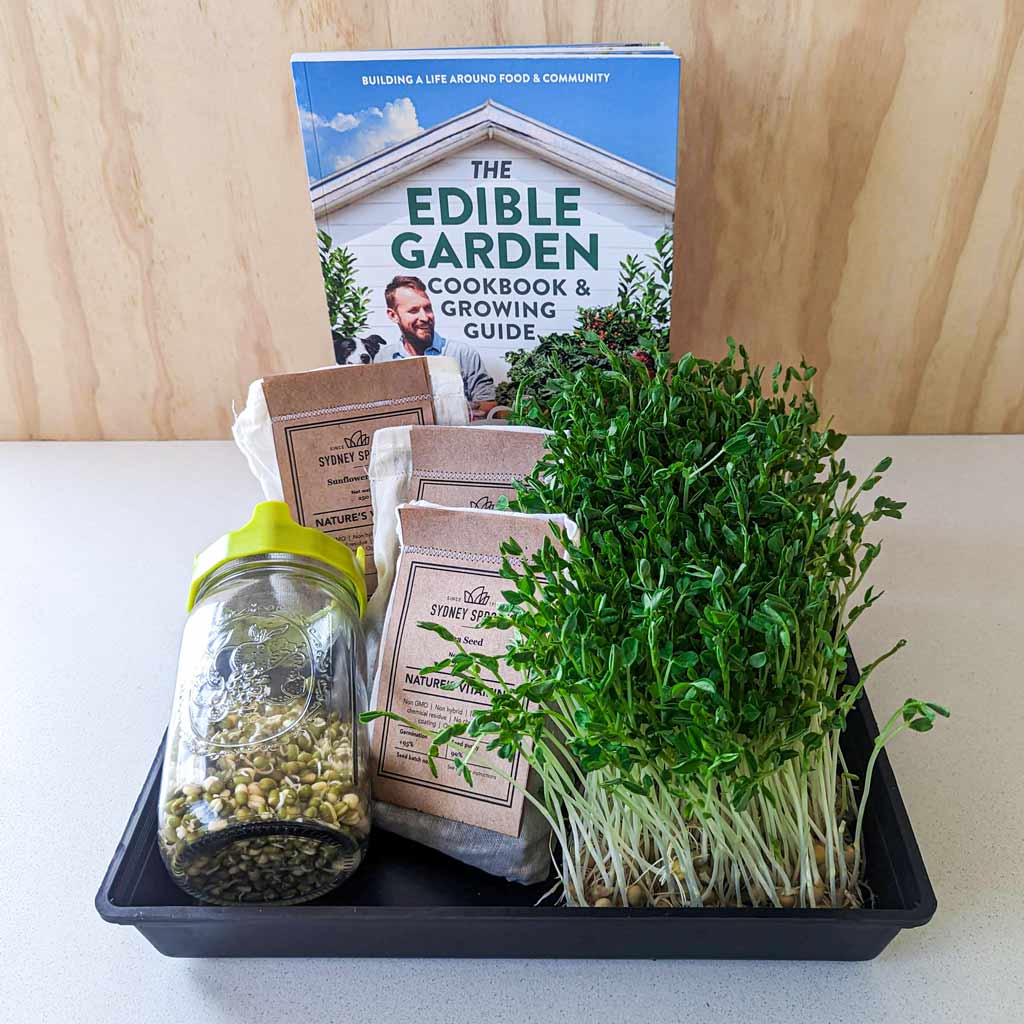
Home sprouting sets
DIY sprouts and microgreens.
Growing sprouts and microgreens at home is fun, educational and deliciously easy. Just purchase a DIY sprouting jar set or a DIY microgreen tray set, below, and follow the super simple instructions. Sprouts and microgreens grow quickly too, so you can experiment with lots of different seeds and flavours. Many families keep several jars and/or trays on permanent rotation, so they always have a fresh bounty to choose from in the kitchen!
View collection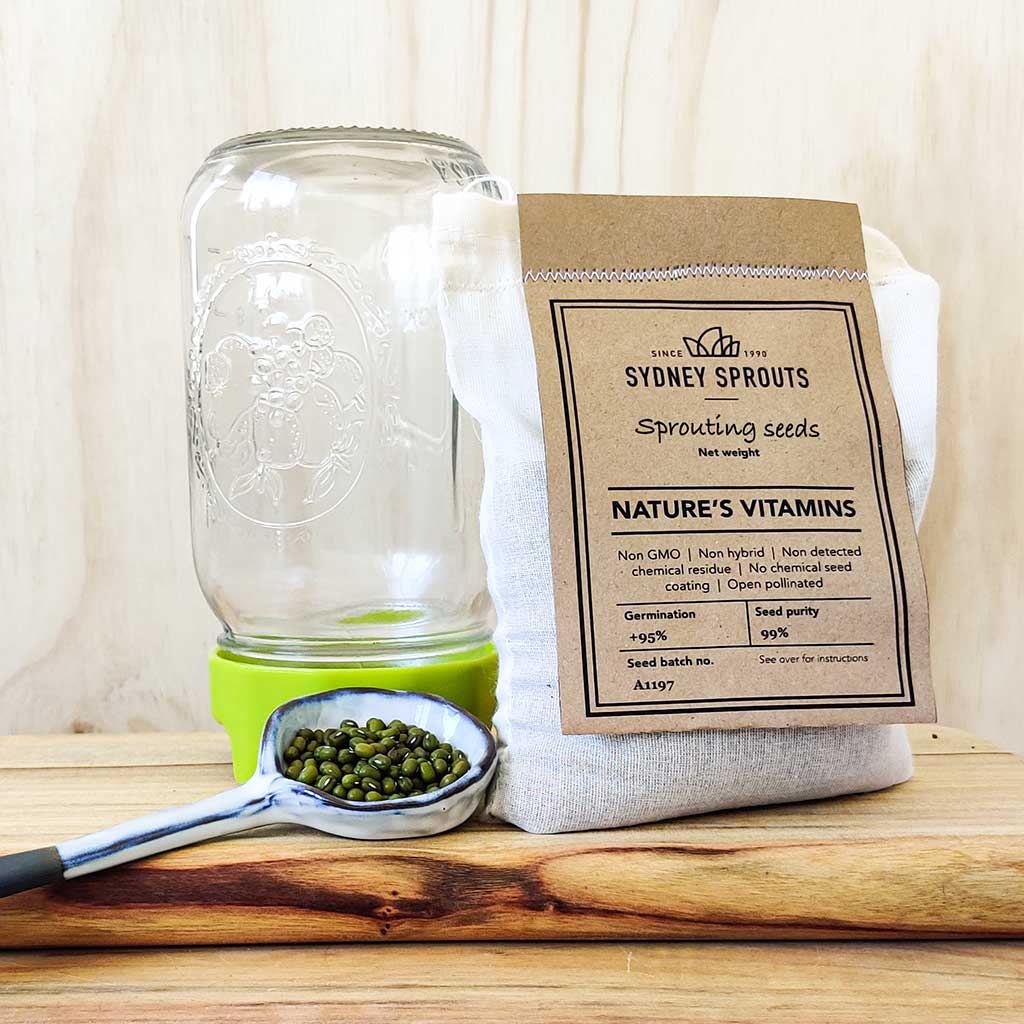
Home sprouting. One of life’s simple joys.
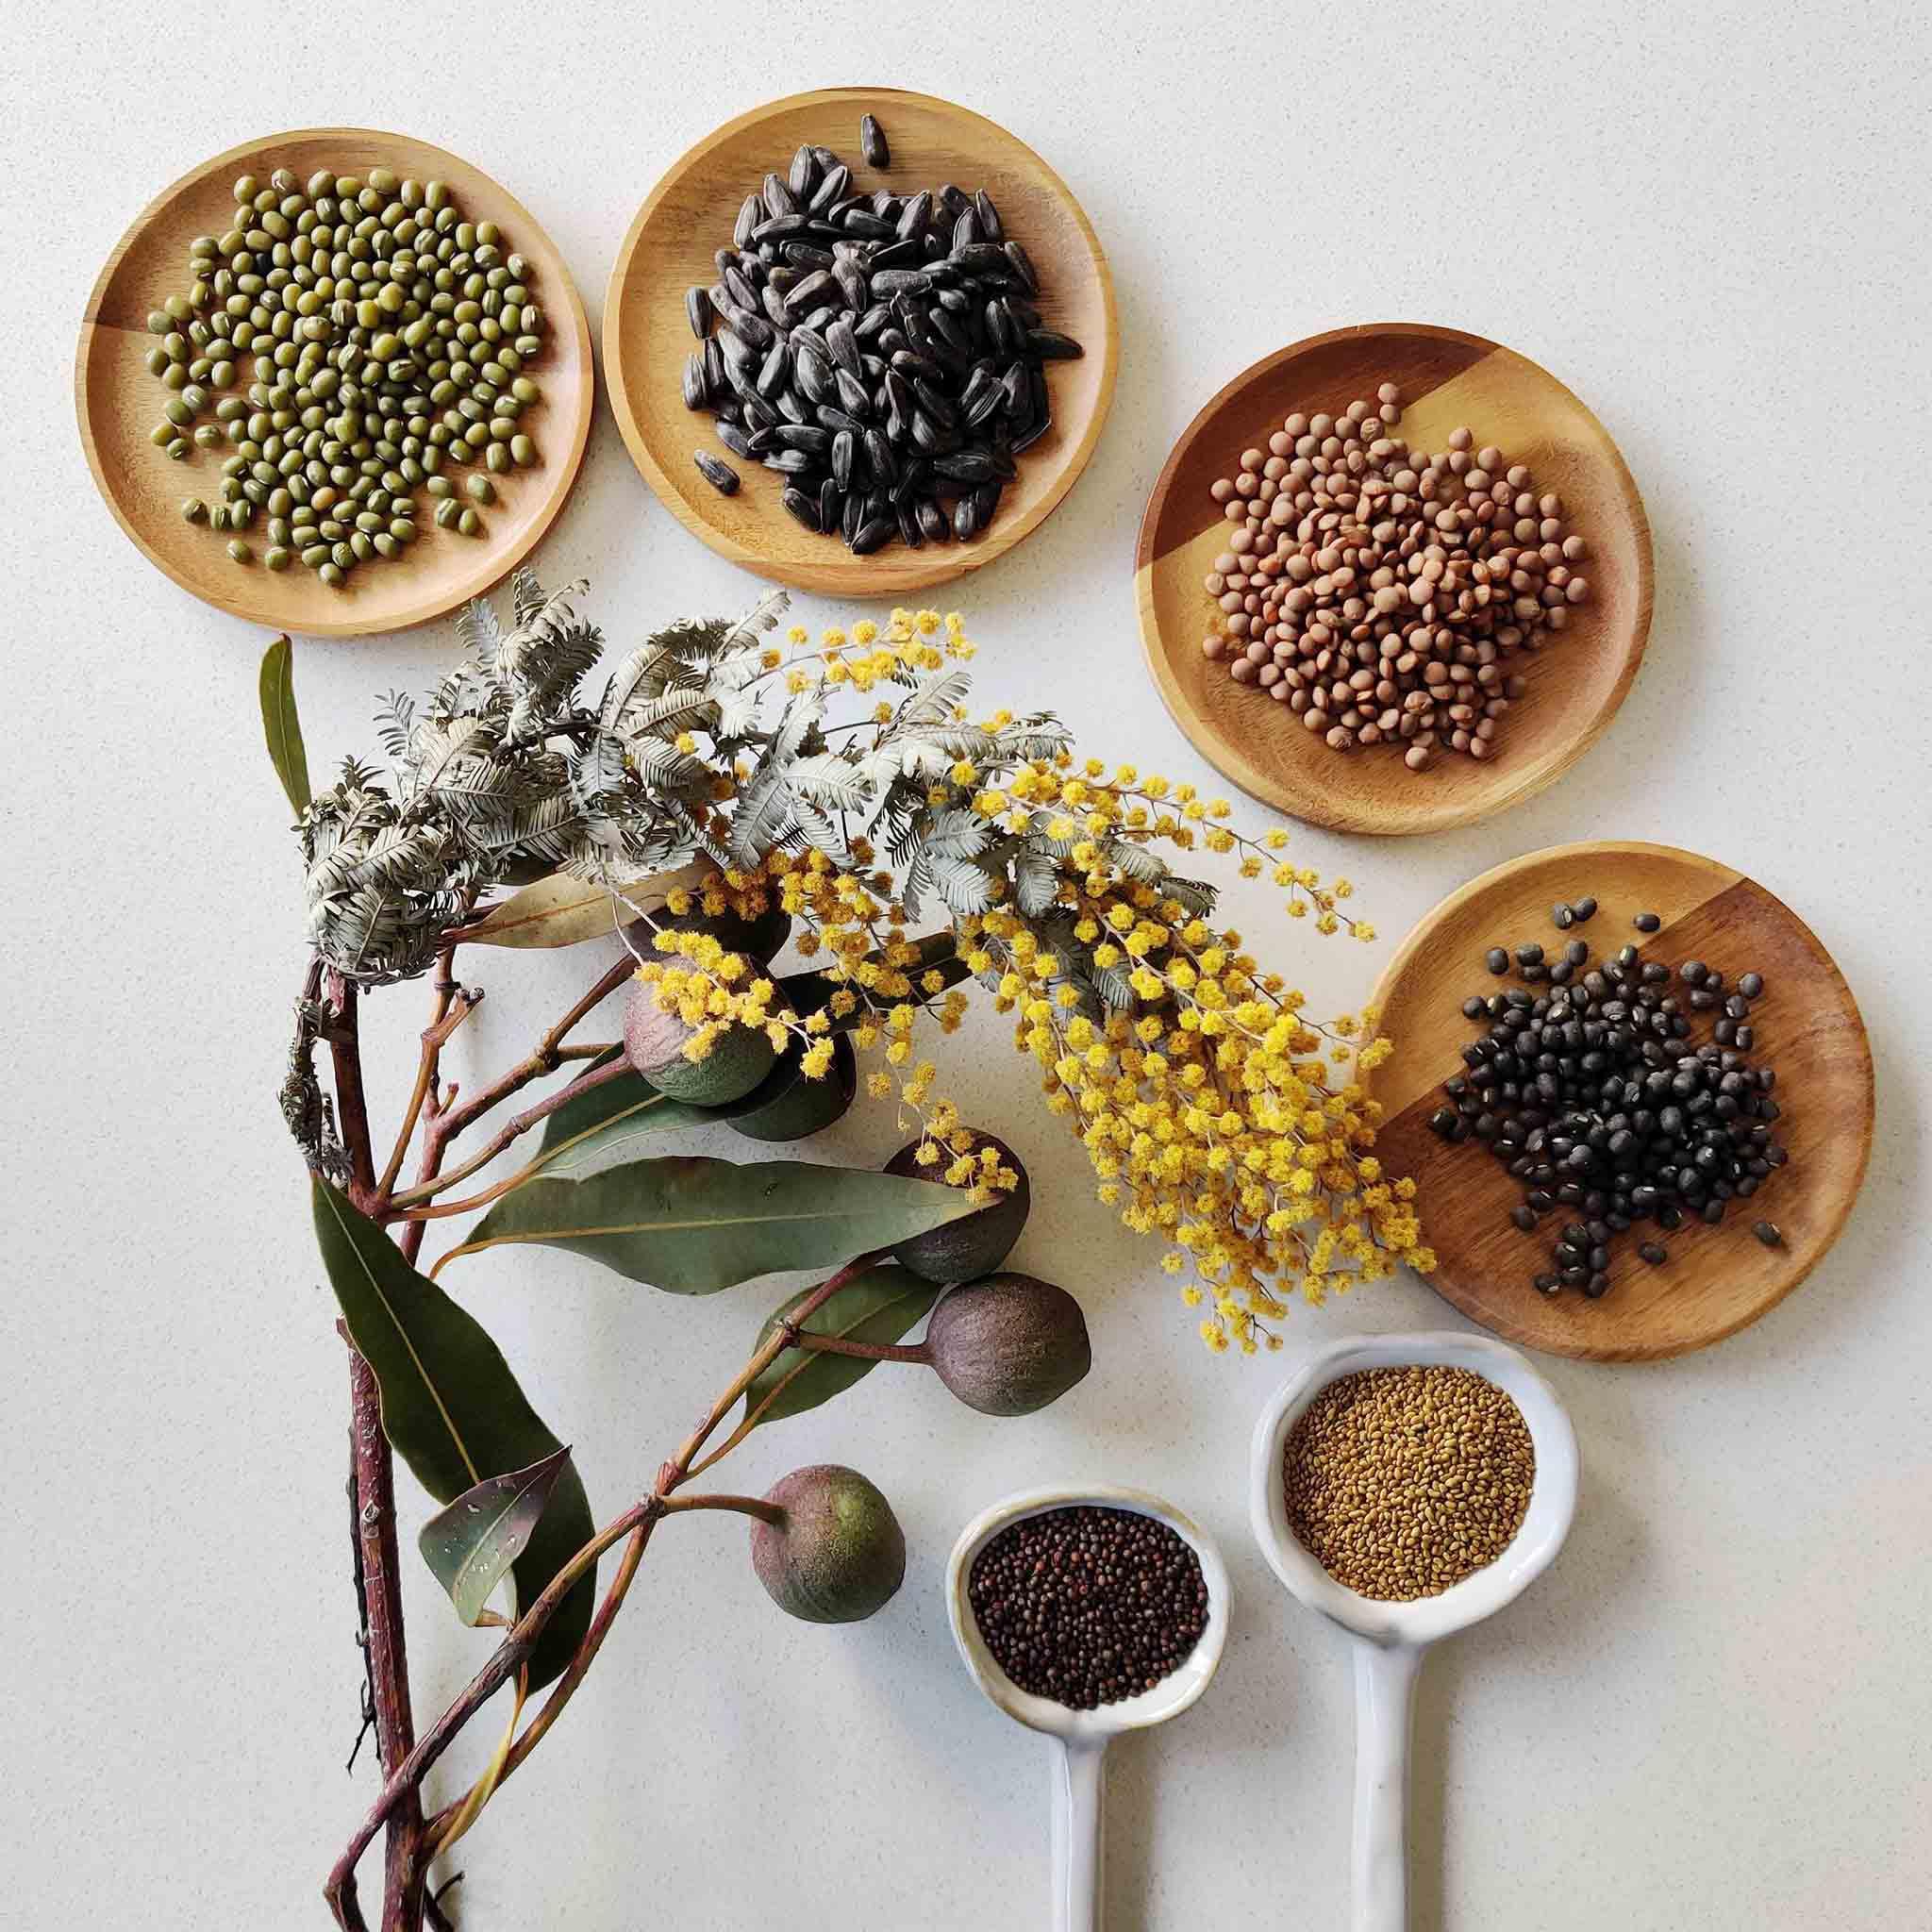
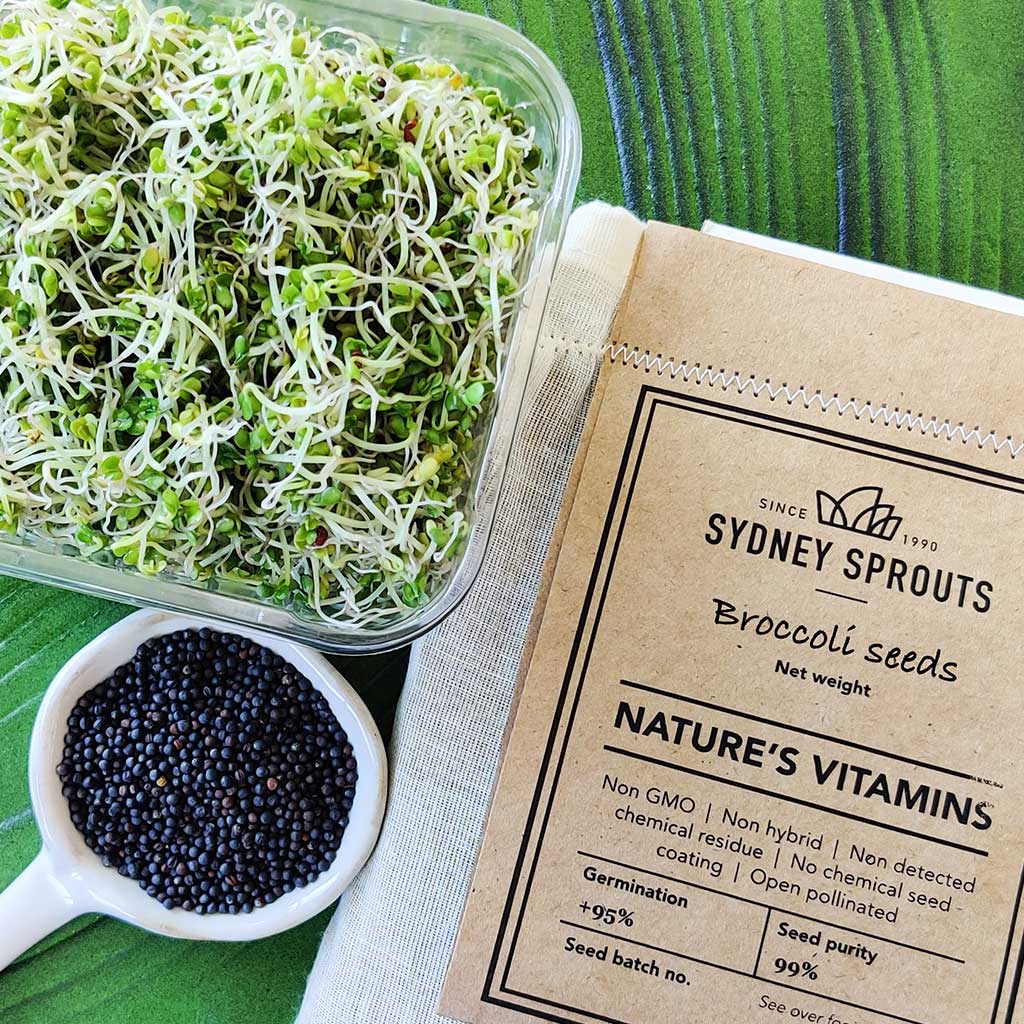
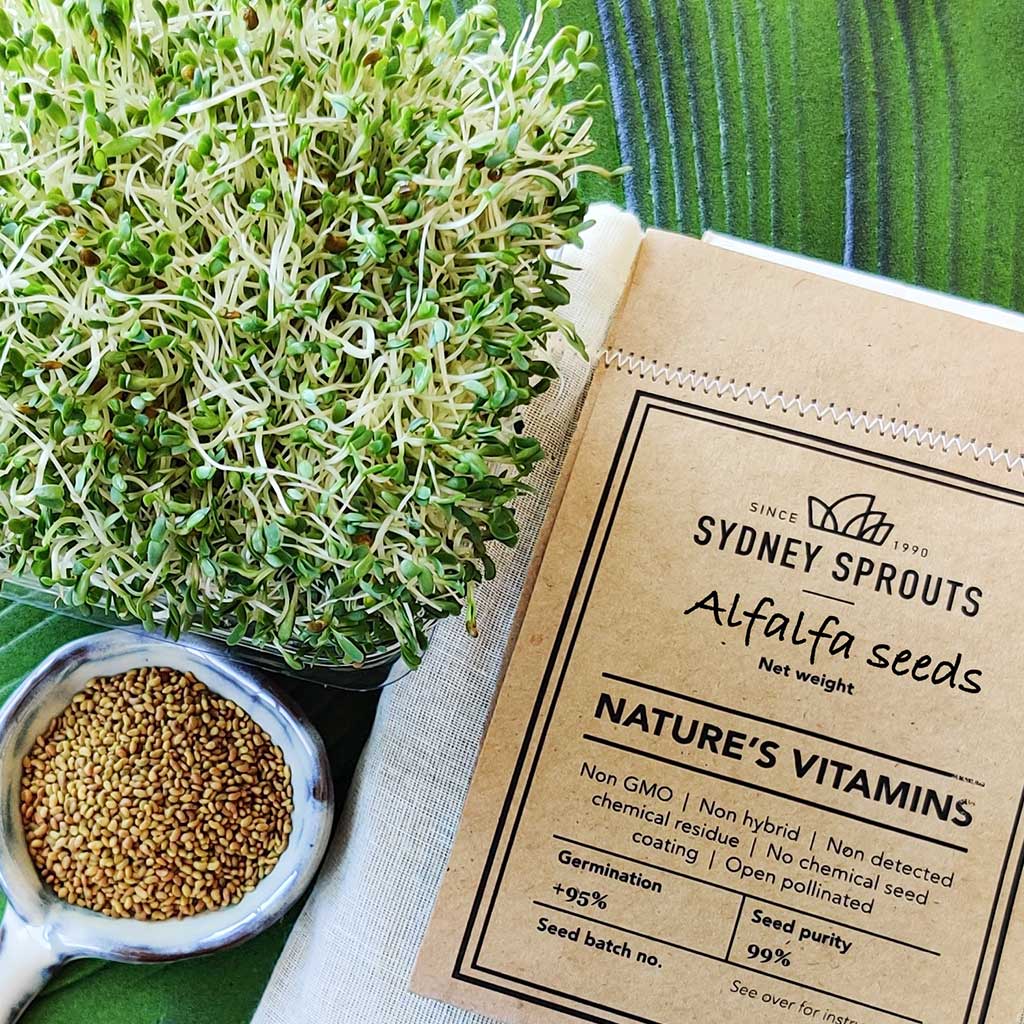
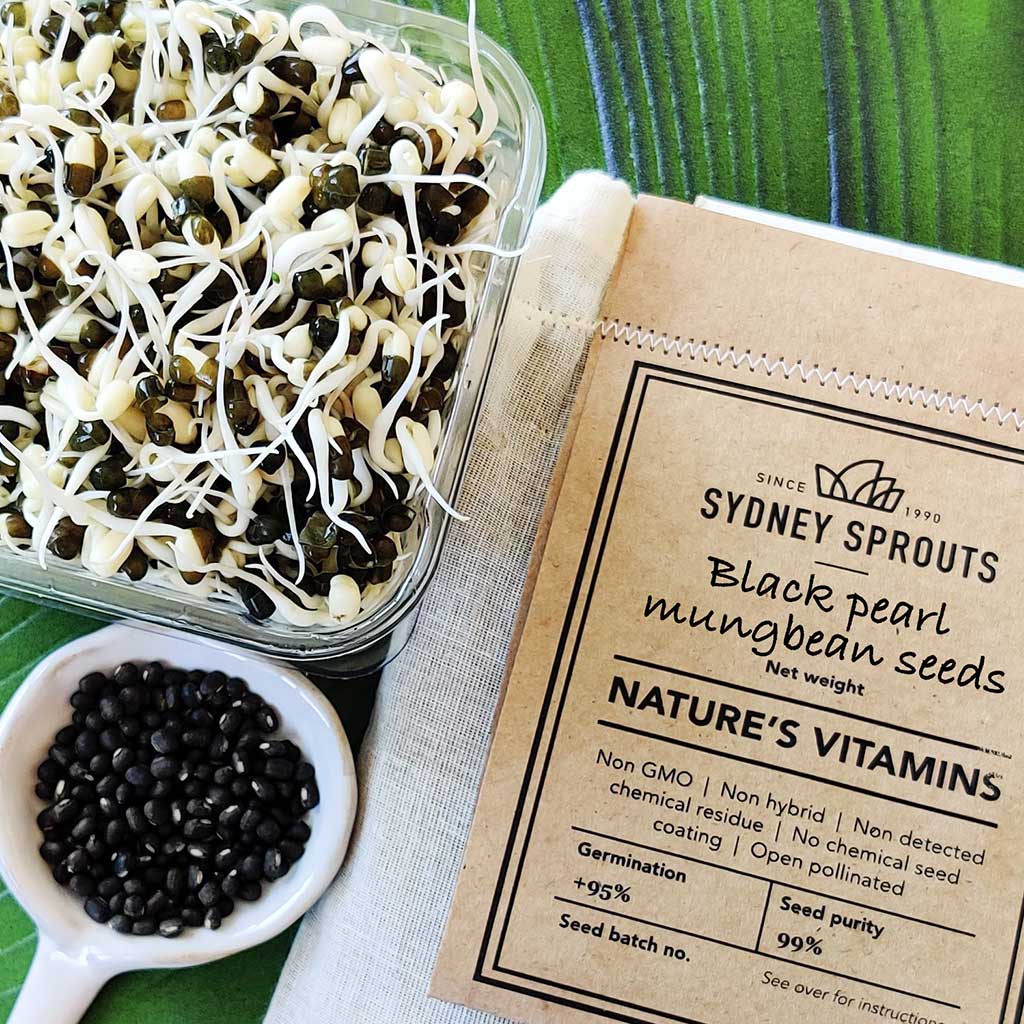
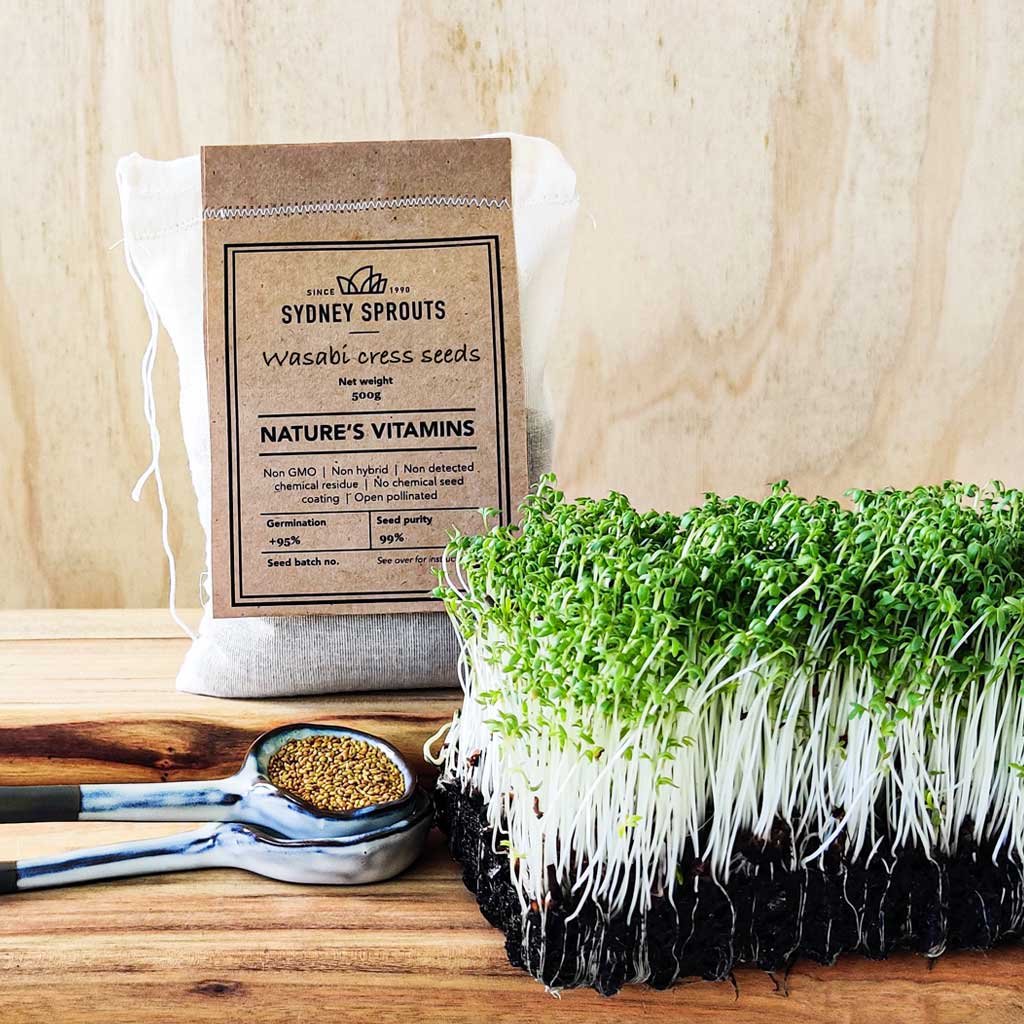
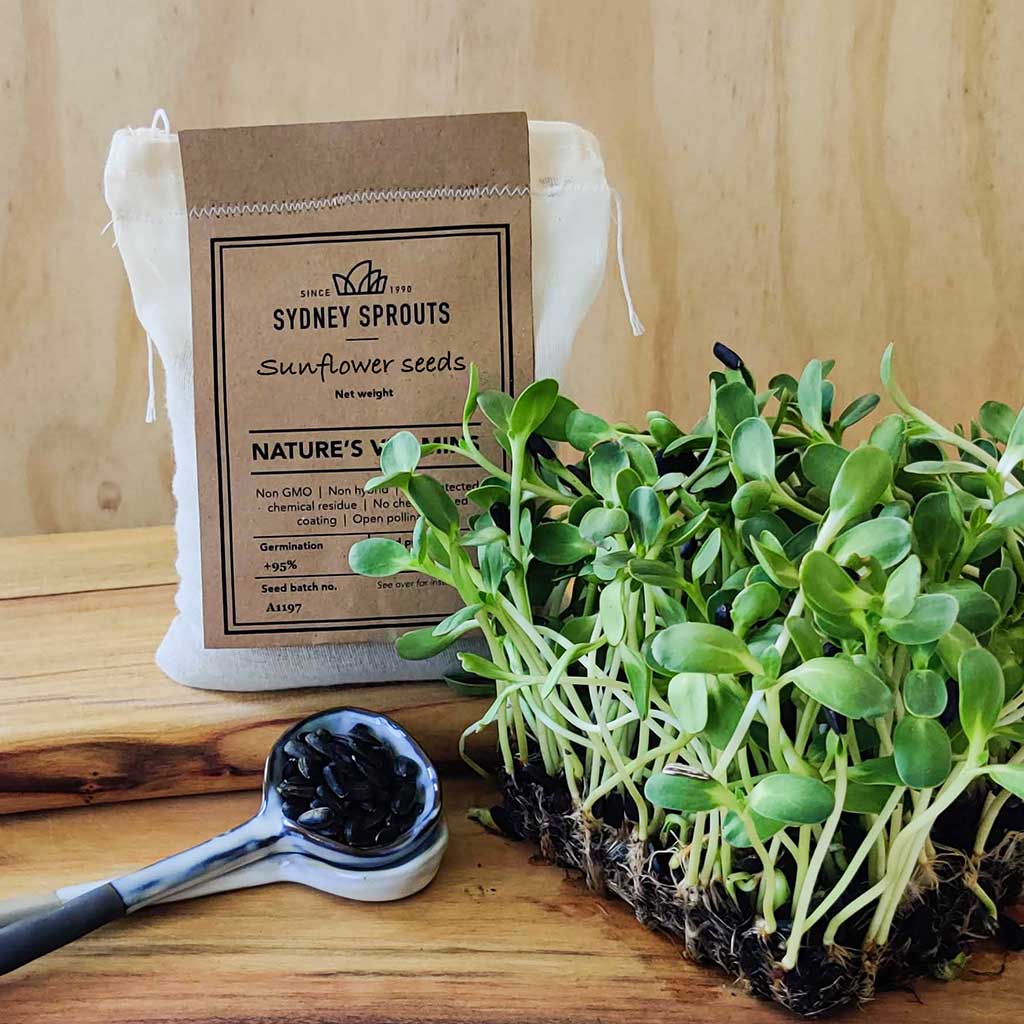
Premium quality sprouting seeds
Fast, easy and fresh. Growing nutritious sprouts at home is something every family can enjoy. All you need is a jar, lid and seed set. Unlike the seeds at the supermarket, our premium quality sprouting seeds are sustainably sourced, open pollinated, non-GMO, non-hybrid and have no chemical coatings. They’re hand selected to make sure you enjoy a wonderful sprout harvest every time. Several of our sprouting seeds can even be grown as sprouts or microgreens. Our seed bags are made from a natural woven blend of cotton and muslin. For longer shelf life please store your seeds in an airtight container. Please note: Seeds are NOT available for delivery to WA or TAS due to quarantine restrictions.
How fast do sprouts grow?
First-time sprouters are often amazed at just how quick the sprouting process is. Germination begins almost immediately when you water your sprouting seeds for the first time. However different seeds do sprout faster than others. Bean and lentil sprouts typically take 3-4 days to reach maturity, while alfalfa and broccoli varieties will take between 4-7 days.
Our seed standards
- Non-GMO
- Non detected chemical residue * NATA laboratory tested
- Microbiologically tested. (Free of pathogens, e-coli, salmonella and listeria)
- No chemical seed coating
- Open pollinated
- Non-hybrid
- Germination +95%
- Seed Purity +98%
Seed satisfaction refund
Our seed satisfaction promise
If you carefully watched our How to Sprout Seeds video and followed our growing instructions but your seeds did not sprout, you can return them for a full refund. This does not apply if you skipped a step – reread the instructions!
Seed preparation
- Add 4-6 tbsp of sprouting seeds to your jar (2 tbsp for broccoli seeds) and cover with 400ml of water. Swirl around to agitate and clean the seeds, then tip out the water.
- Add a new 400ml of water and allow the seeds to soak for 4-6 hours.
- After soaking, drain water by tipping the jar upside down using the strainer lid in your sprouting kit.
- Sit the jar in a resting position, away from direct sunlight.
Growing and watering
- Water your sprouts a minimum of 2 times a day. 3-4 times per day is ideal.
- Add 400ml of water, swirl around to rinse sprouts, then drain.
- Repeat Step 2 for a second rinse with fresh water for a few minutes (extra water may be required on especially hot or humid days).
- Drain and place jar back in a resting position, away from direct sunlight.
- Repeat the rinsing and draining process 2-4 times daily until your sprouts are ready for harvest.
The magic of photosynthesis
To give your sprouts a wonderful green colour, the final stage before harvesting involves sunlight and the transformational process of photosynthesis. When your sprouts have grown to the desired size, simply follow these steps:
- Place your sprouts in an upright position in an area with bright light.
- Keep out of direct sunlight, natural or fluorescent lighting is fine.
- Photosynthesis will start to happen within one hour and can take up 12 hours (longer time = darker green)
- Rinsing and watering is still required during the photosynthesis stage, especially in warmer weather.
- Once your sprouts have reached your preferred shade of green, they’re ready for harvesting and feasting! Wash and drain your sprouts, then place them in a clean container. Your sprouts can be kept fresh in the fridge for up to a week.

Microgreens. Your home-grown superfood.
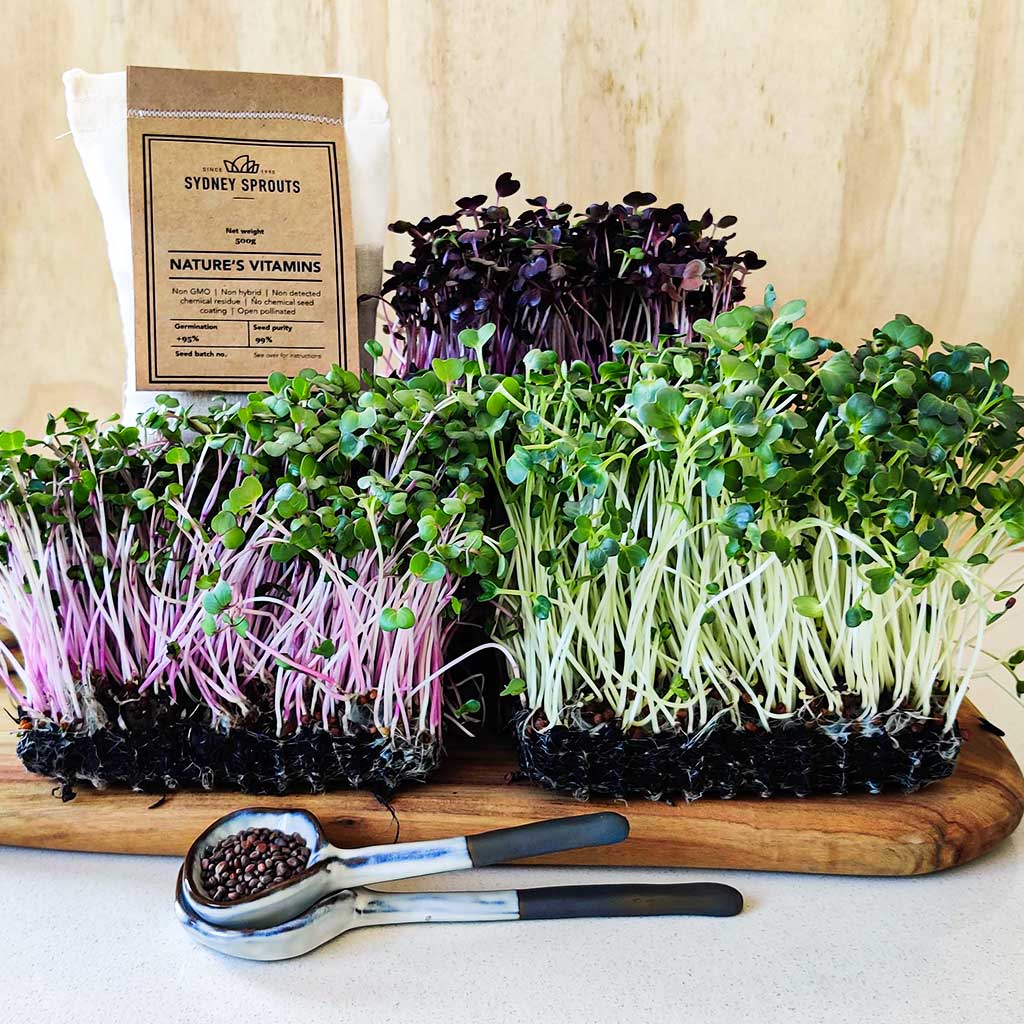
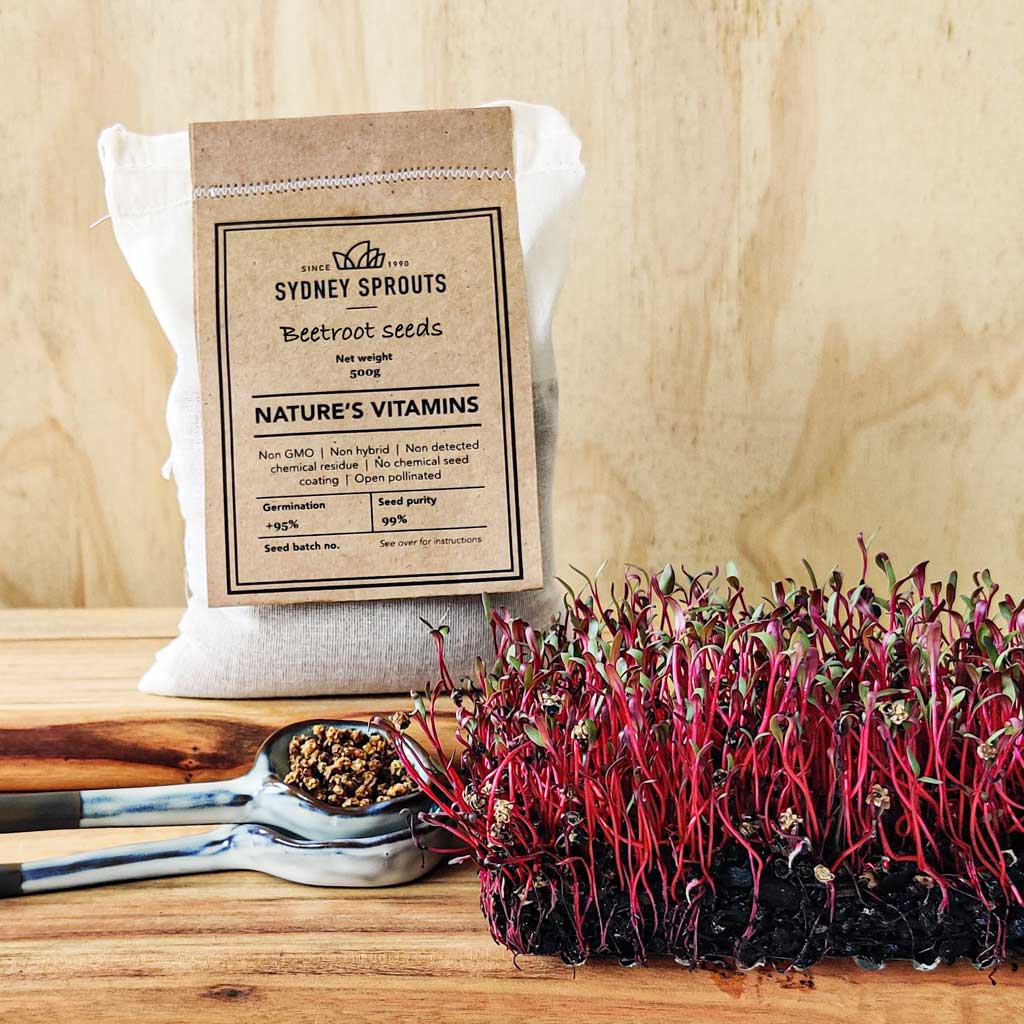
Premium quality microgreens.
Packed with nutrition and flavour, microgreens are the young, edible seedlings of vegetables and herbs. From peas, quinoa and broccoli to cabbage, kale and radish, microgreens begin as seeds and can be easily grown indoors all year round. But unlike sprouts, microgreens also need soil to grow and they usually take a little longer before they’re ready to eat. Several of our most popular seed varieties can be grown as both microgreens or sprouts. Please note: Seeds are not able to be delivered to addresses in WA or TAS due to quarantine restrictions.
How fast do microgreens grow?
Microgreens grow a little slower than sprouts. But just like sprouts, different varieties can be harvested sooner than others. Microgreens from the ‘broccoli’ family (see above) typically take 8-10 days to reach maturity, while ‘pea’ varieties will take between 10-14 days.
Our seed standards
- Non-GMO
- Non detected chemical residue * NATA laboratory tested
- Microbiologically tested. (Free of pathogens, e-coli, salmonella and listeria)
- No chemical seed coating
- Open pollinated
- Non-hybrid
- Germination +95%
- Seed Purity +98%
Seed satisfaction refund
Our seed satisfaction promise
If you carefully watched our How to Sprout Seeds video and followed our growing instructions but your seeds did not sprout, you can return them for a full refund. This does not apply if you skipped a step – reread the instructions!
What you’ll need to grow microgreens at home
- Store-purchased potting soil.
- Repurposed containers or microgreens.
- Sprouting jar (optional).
Preparation
- Find three small containers of the same size and shape. Shallow rectangular take-away containers are ideal if you have them.
- The aim is to convert these containers into: (1) a growing pot; (2) a saucer to catch excess water; and (3) a growing pot cover.
- Take one container and punch a few holes in the bottom for drainage. This is your microgreens growing pot.
- Using your empty growing pot as a guide, measure your microgreens seeds by adding a thin layer of seeds to the pot without overlapping.
- Now remove 20% of the seeds to determine the optimal number of microgreens seeds for your container (seeds swell during the soaking stage so this ensures there will be enough room for them to grow.)
Jar sprouting (optional)
- Whilst not essential, many people like to use a sprouting jar to start the germination process before sowing their microgreens seeds into the soil.
- Place your measured seeds into a sprouting jar and soak in water for 24-36 hours.
- Continue sprouting the seeds until the white dots of the tails appear.
- Using the seed jar sprouting method can save 2-3 days of growing time.
- Pre-soaking can also help your microgreens grow more evenly and produce a higher yield.
Growing
- Start prepping your microgreens growing pot using store-purchased potting soil (as an option, you can add ¼ to ½ parts of coconut peat to your soil).
- Fill your growing pot with soil to within 2cm of the upper rim.
- Add water to saturate the soil, keeping it moist for sowing.
- When your seeds are ready, drain well and scatter the seeds evenly over the soil.
- Spray a light mist of water over the seeds to help them embed into the soil.
- Cover the newly planted seeds with the 3rd container by turning it upside down, creating a ‘mini-greenhouse’ effect (alternatively, use a paper towel to cover the seeds and give a good misting of water straight through the paper towel).
- Keep the soil moist with regular misting of water throughout the full growing process.
- Between Days 3-5 short white tails will have appeared on your microgreens seeds.
- You may also notice a white ‘fluffy mould’ on the seeds – this is normal as the seeds are developing fine root hairs which eventually will become the root system. This is also a sign that extra watering is needed.
- Between Days 6-9 your microgreens seedlings will be standing upright and look like mini trees.
- At this stage remove the pot cover/paper towel and let them continue to grow in a well-lit area so they can start to photosynthesise and develop their first set of true leaves.
Harvesting
- When your microgreens have reached the desired size, clip them about 1cm above the soil level using a knife or a pair of scissors.
- If your container doesn’t allow for a good cutting angle, you can gently lift the microgreens out of the container.
- After a quick rinse in water your microgreens are now ready to eat – any extras can be stored in a lidded container in the fridge.
- Do not reuse the soil after harvesting.

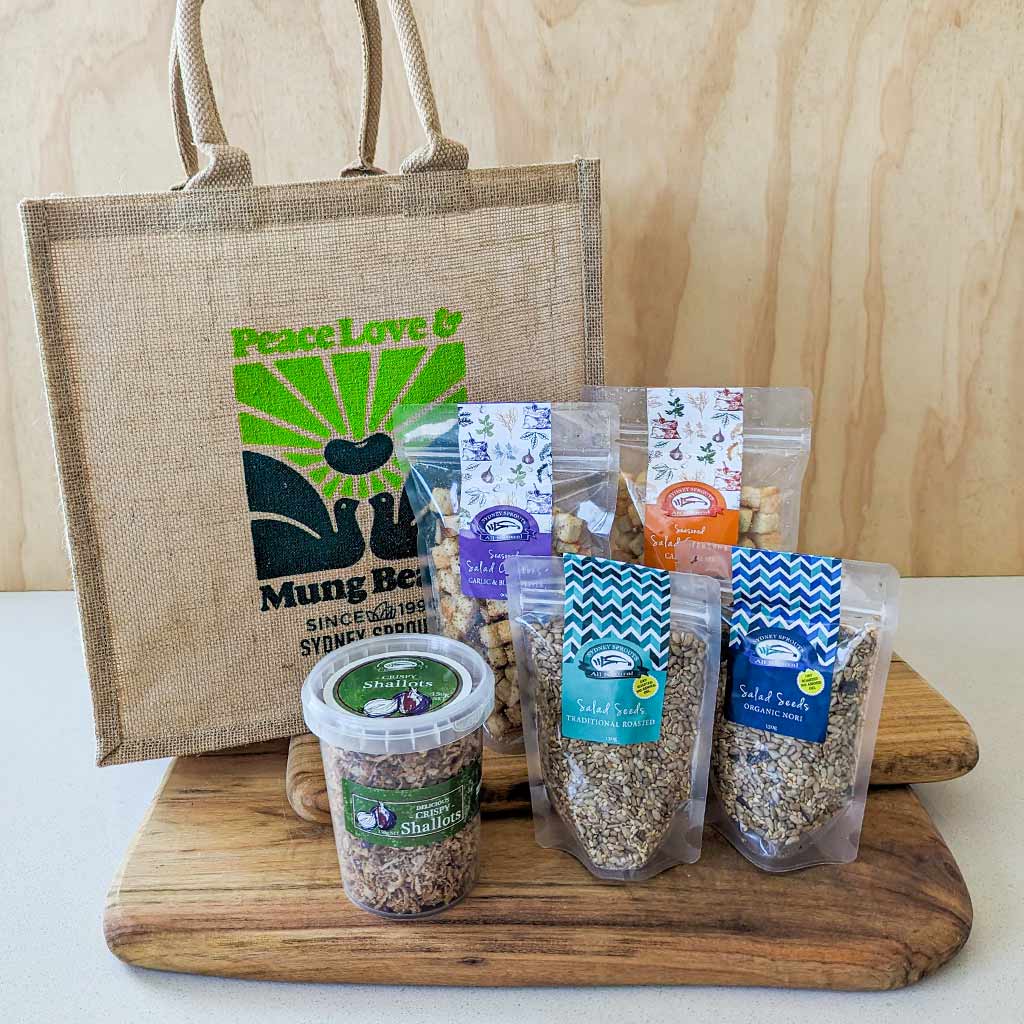
Savoury snacks & salad toppers.
Add a little extra to every meal.
Want to give your dishes extra texture, taste and goodness? Try our irresistible crispy salad toppers, salad seeds, croutons and toasted rice crackers. They’re simply scrumptious.
Topping ranges
Delicious range.
Dress up simple dishes and salads. Add extra flavour and crunch. Simply sprinkle on your choice of Delicious Crispy Shallots or Delicious Fried Garlic… and enjoy.
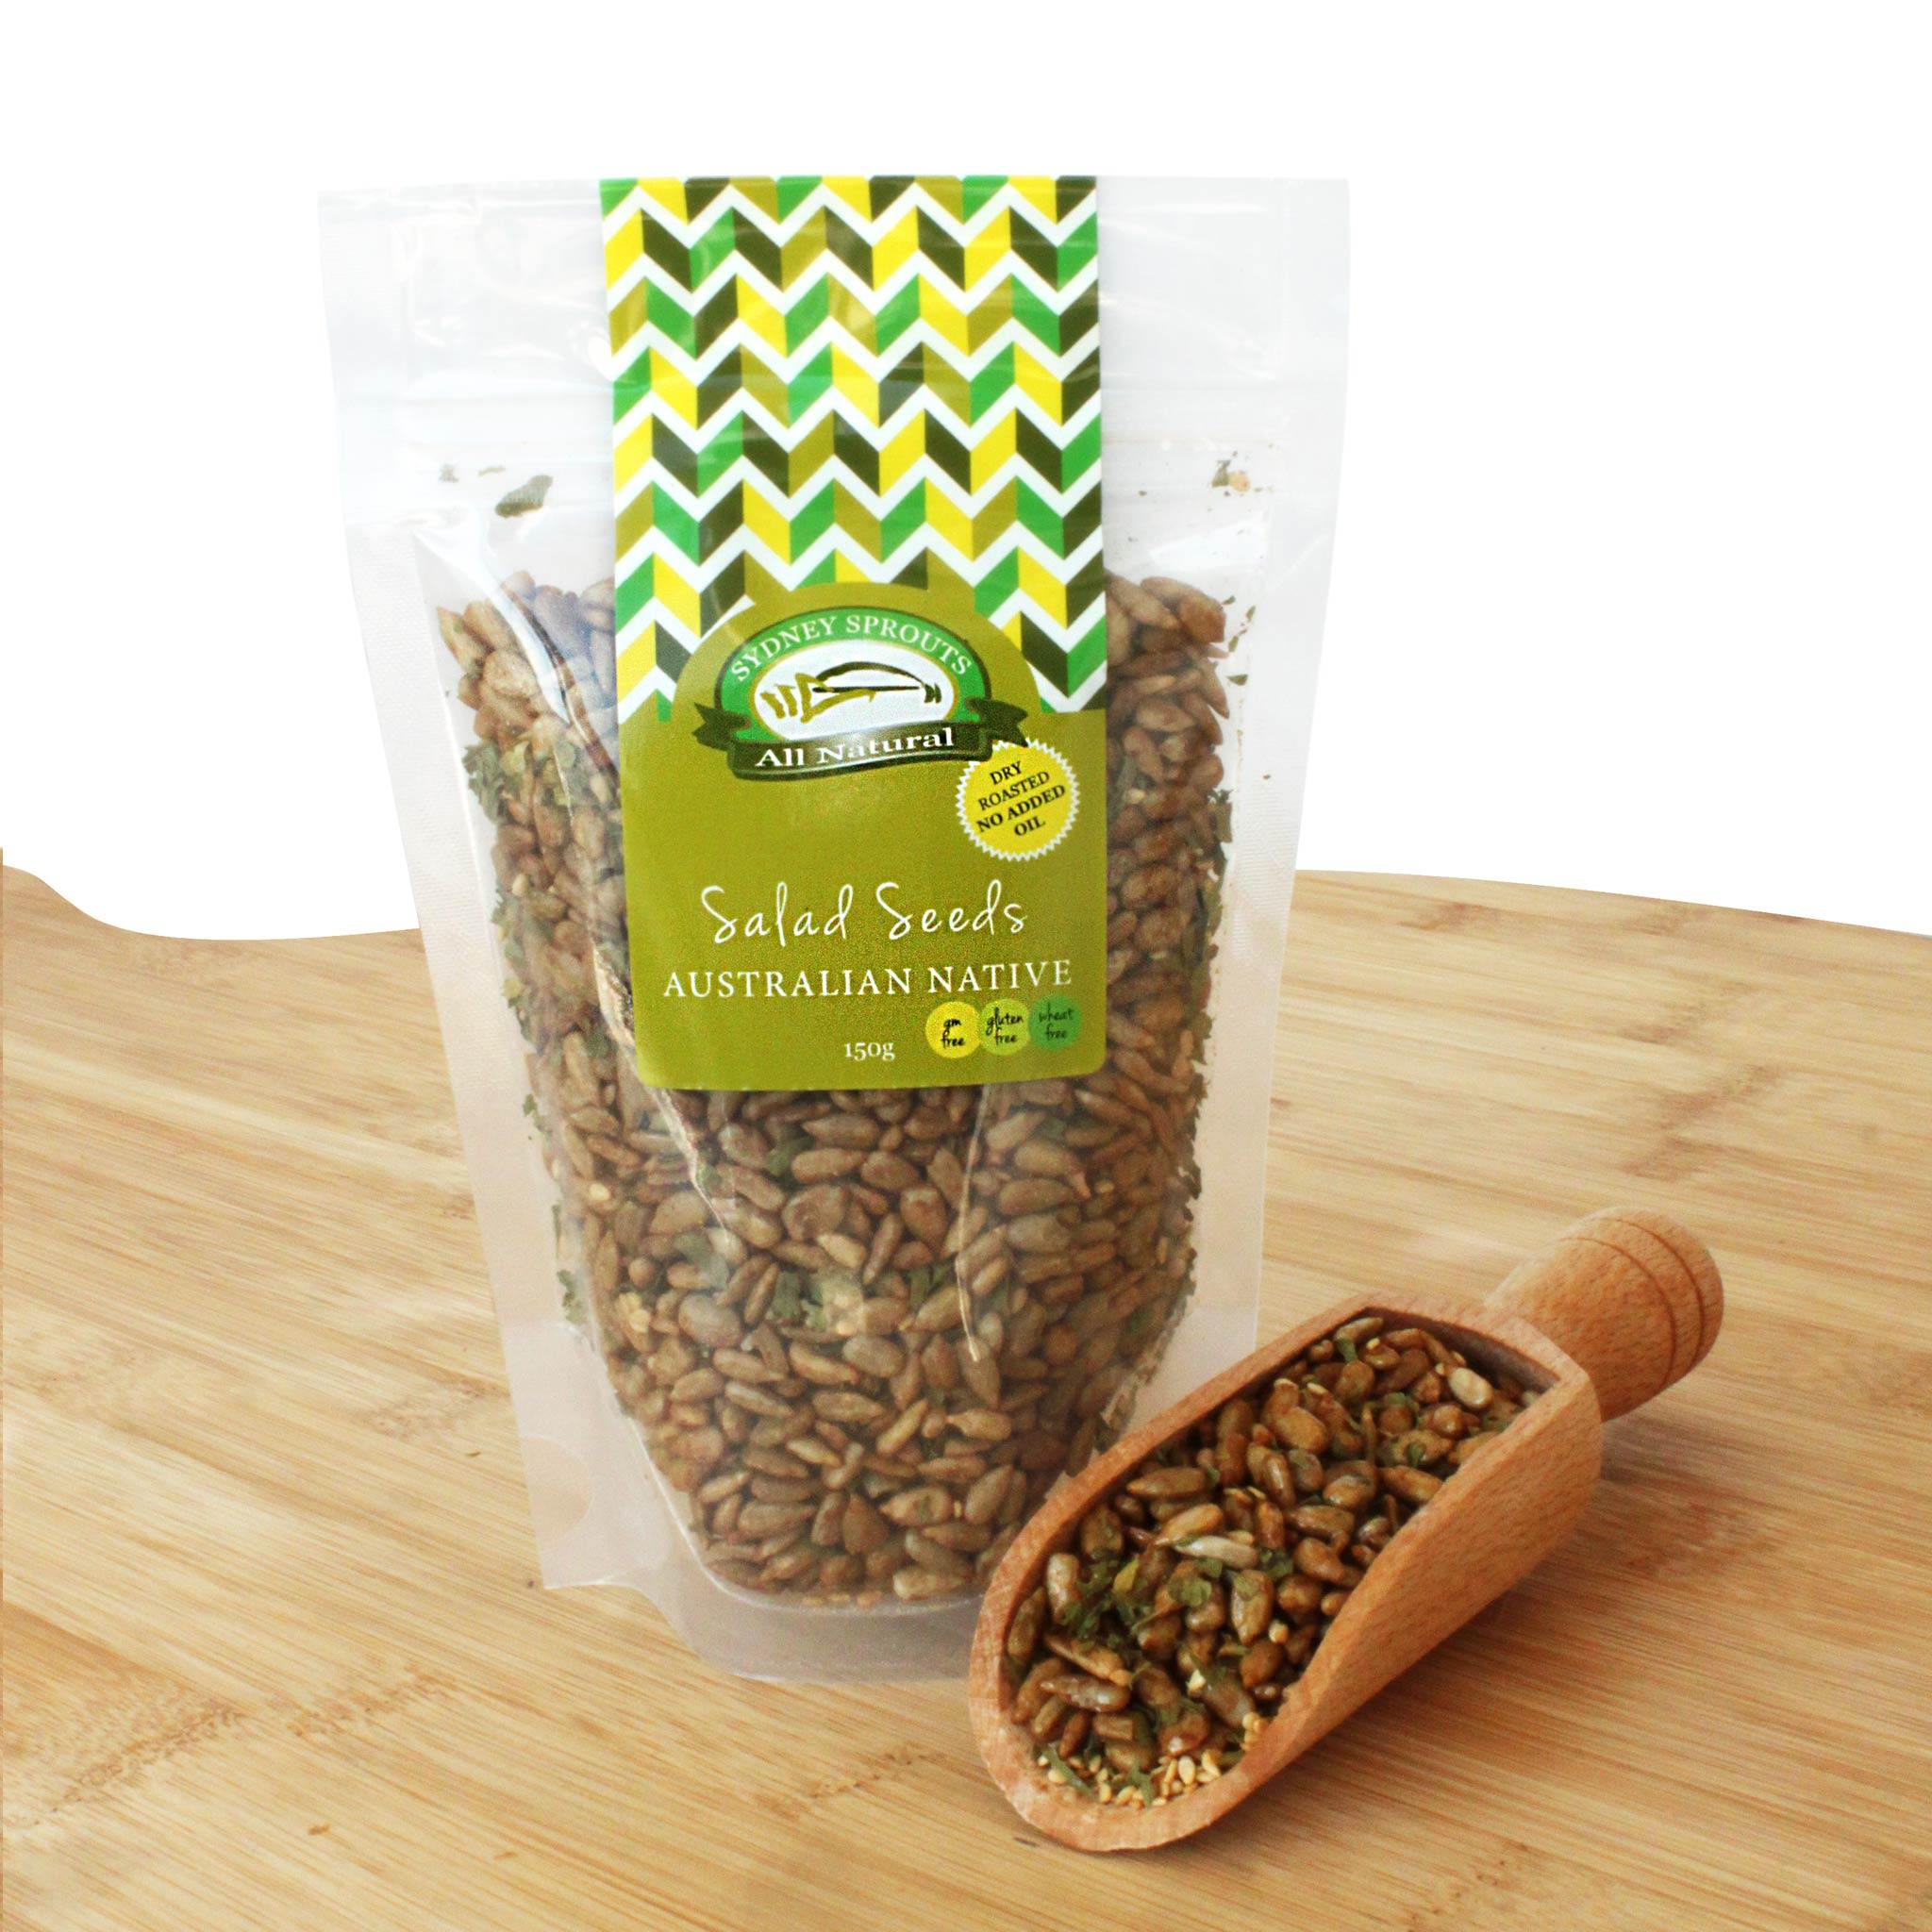
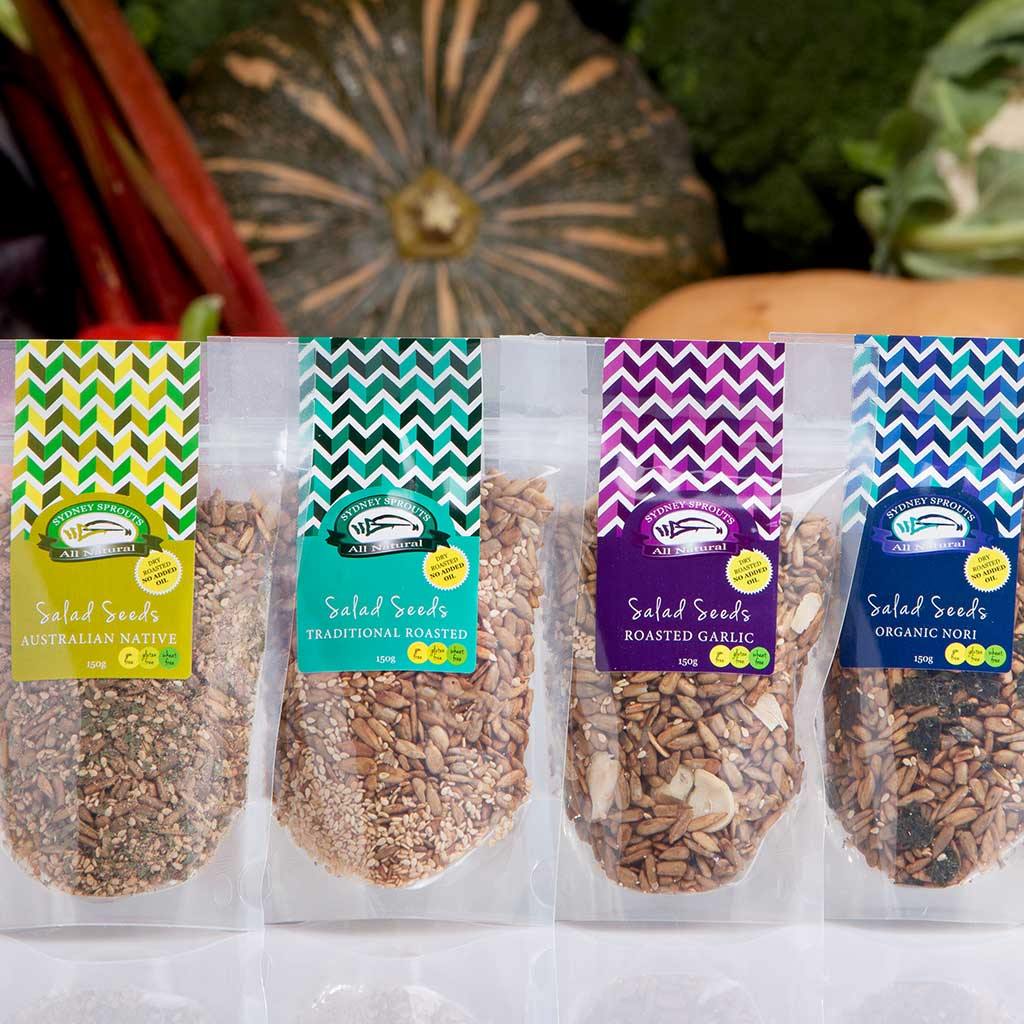
Salad seeds.
Nutritious blends of dry roasted sunflower and sesame seeds, with premium herbs and spices. Generously sprinkle on your salads, stir fries or even use as a dry dip.
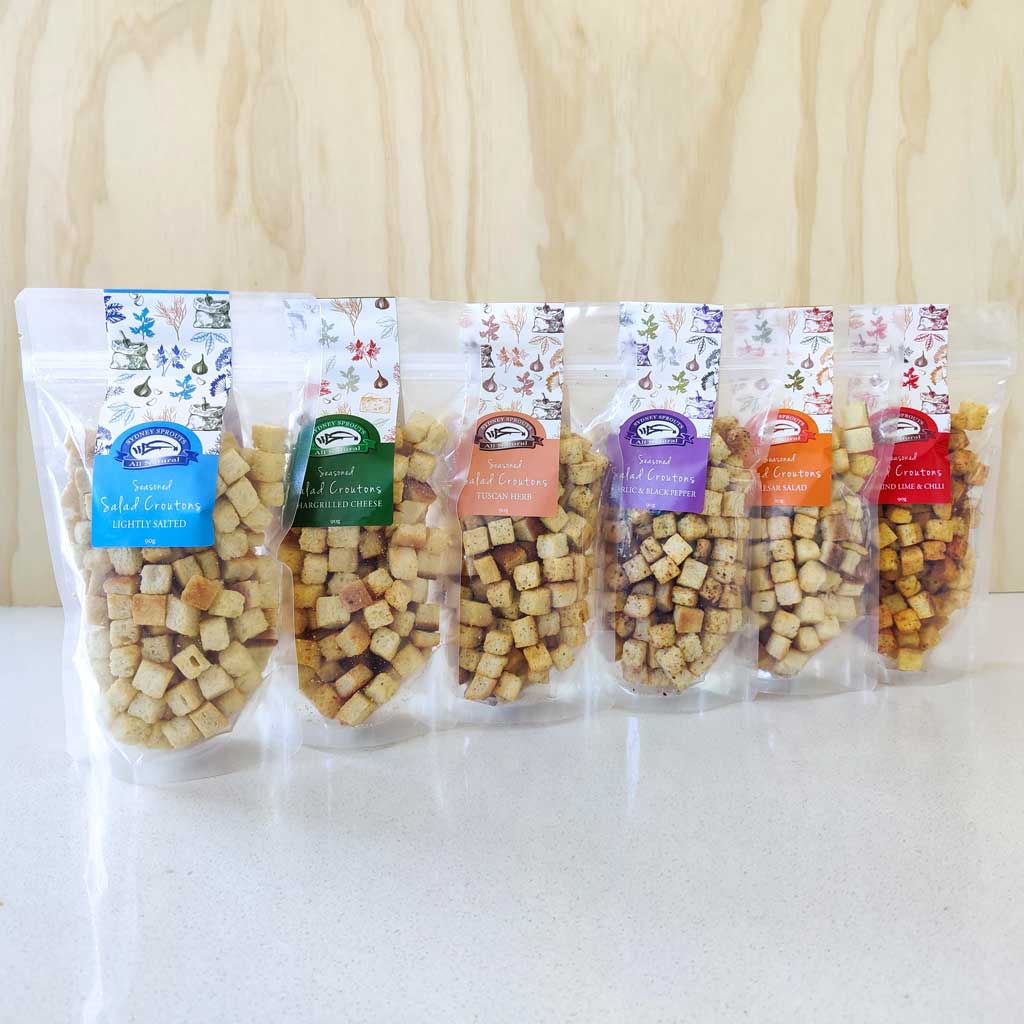
Seasoned salad croutons.
Turn dishes into memorable meals in just seconds. Deliciously crunchy and delicately flavoured, they’re perfect for salads and soups, or simply to snack on.
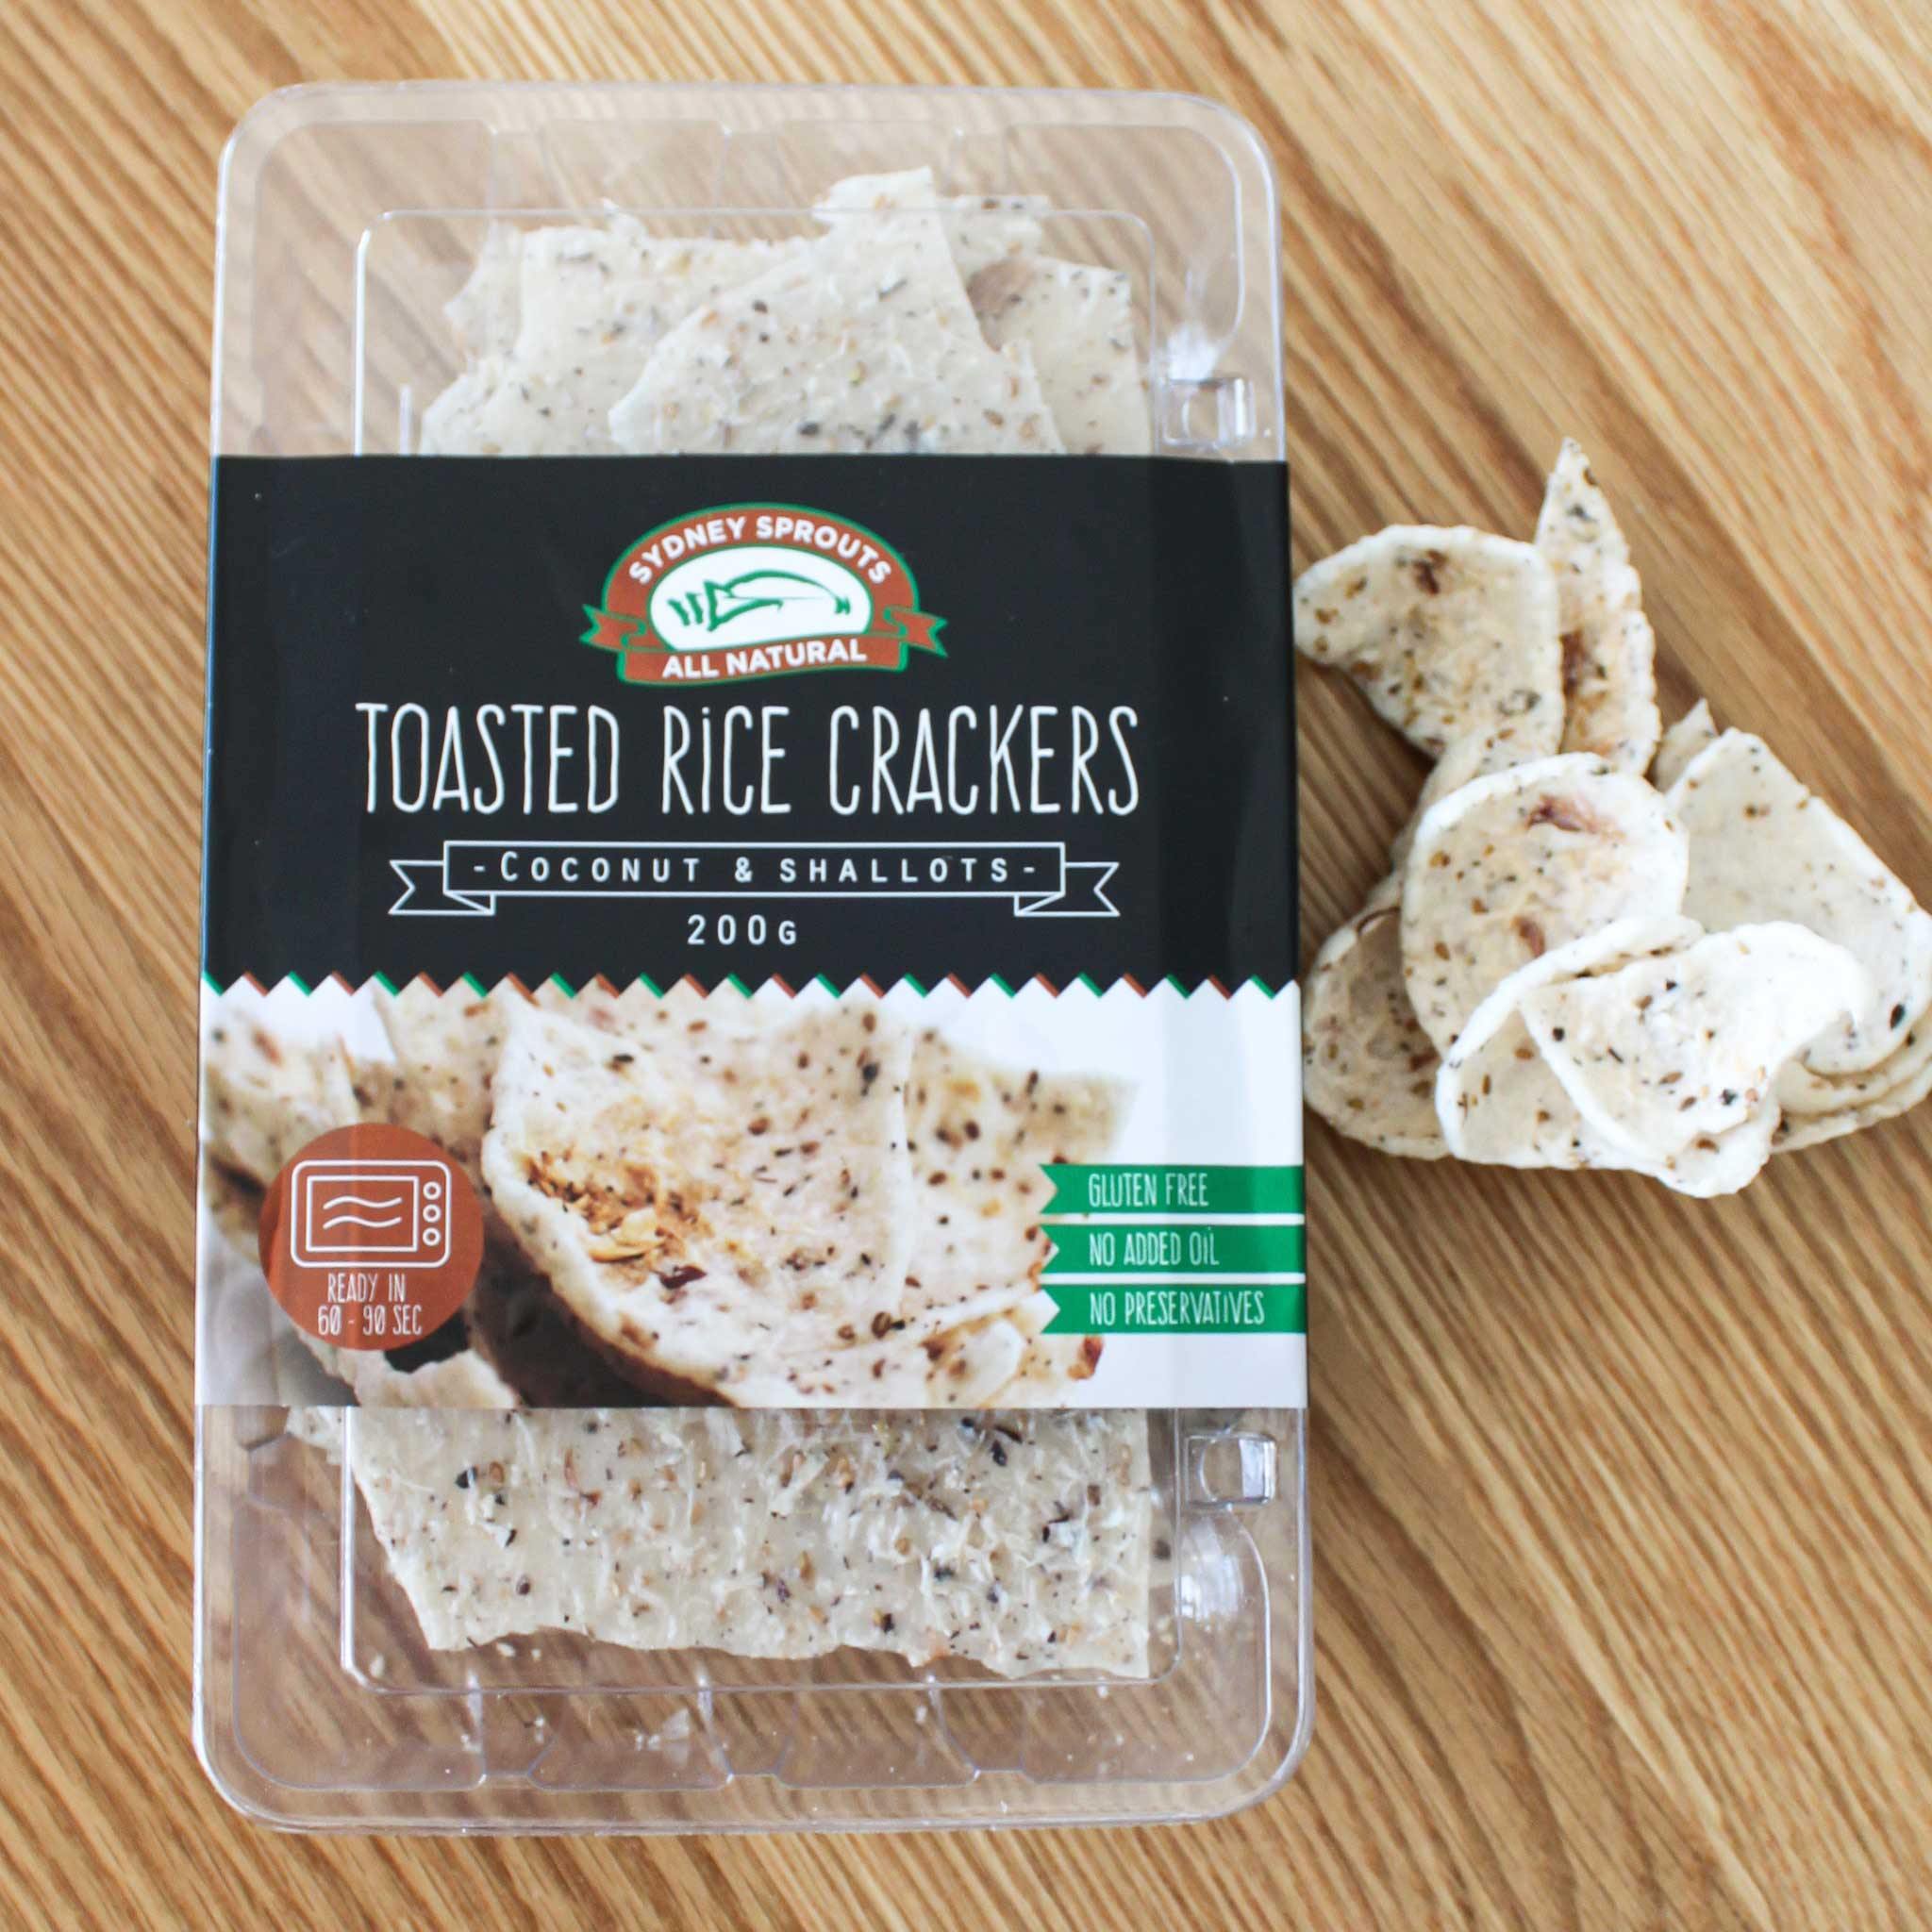
Toasted rice crackers.
The tastiest crackers you’ve ever eaten! Heat them in the microwave, try them with cheese and dips or even crush them for a crispy topping. Yum.
View collection